Testing paint colors seems simple until the “perfect” shade from the store looks completely different once it’s actually on the wall. The color itself usually isn’t the problem — how it was tested is, and that gap is almost always fixable.
These six mistakes explain most paint-color regrets, and all six are avoidable before a single gallon gets opened.
1. Judging a Color From a Tiny Chip
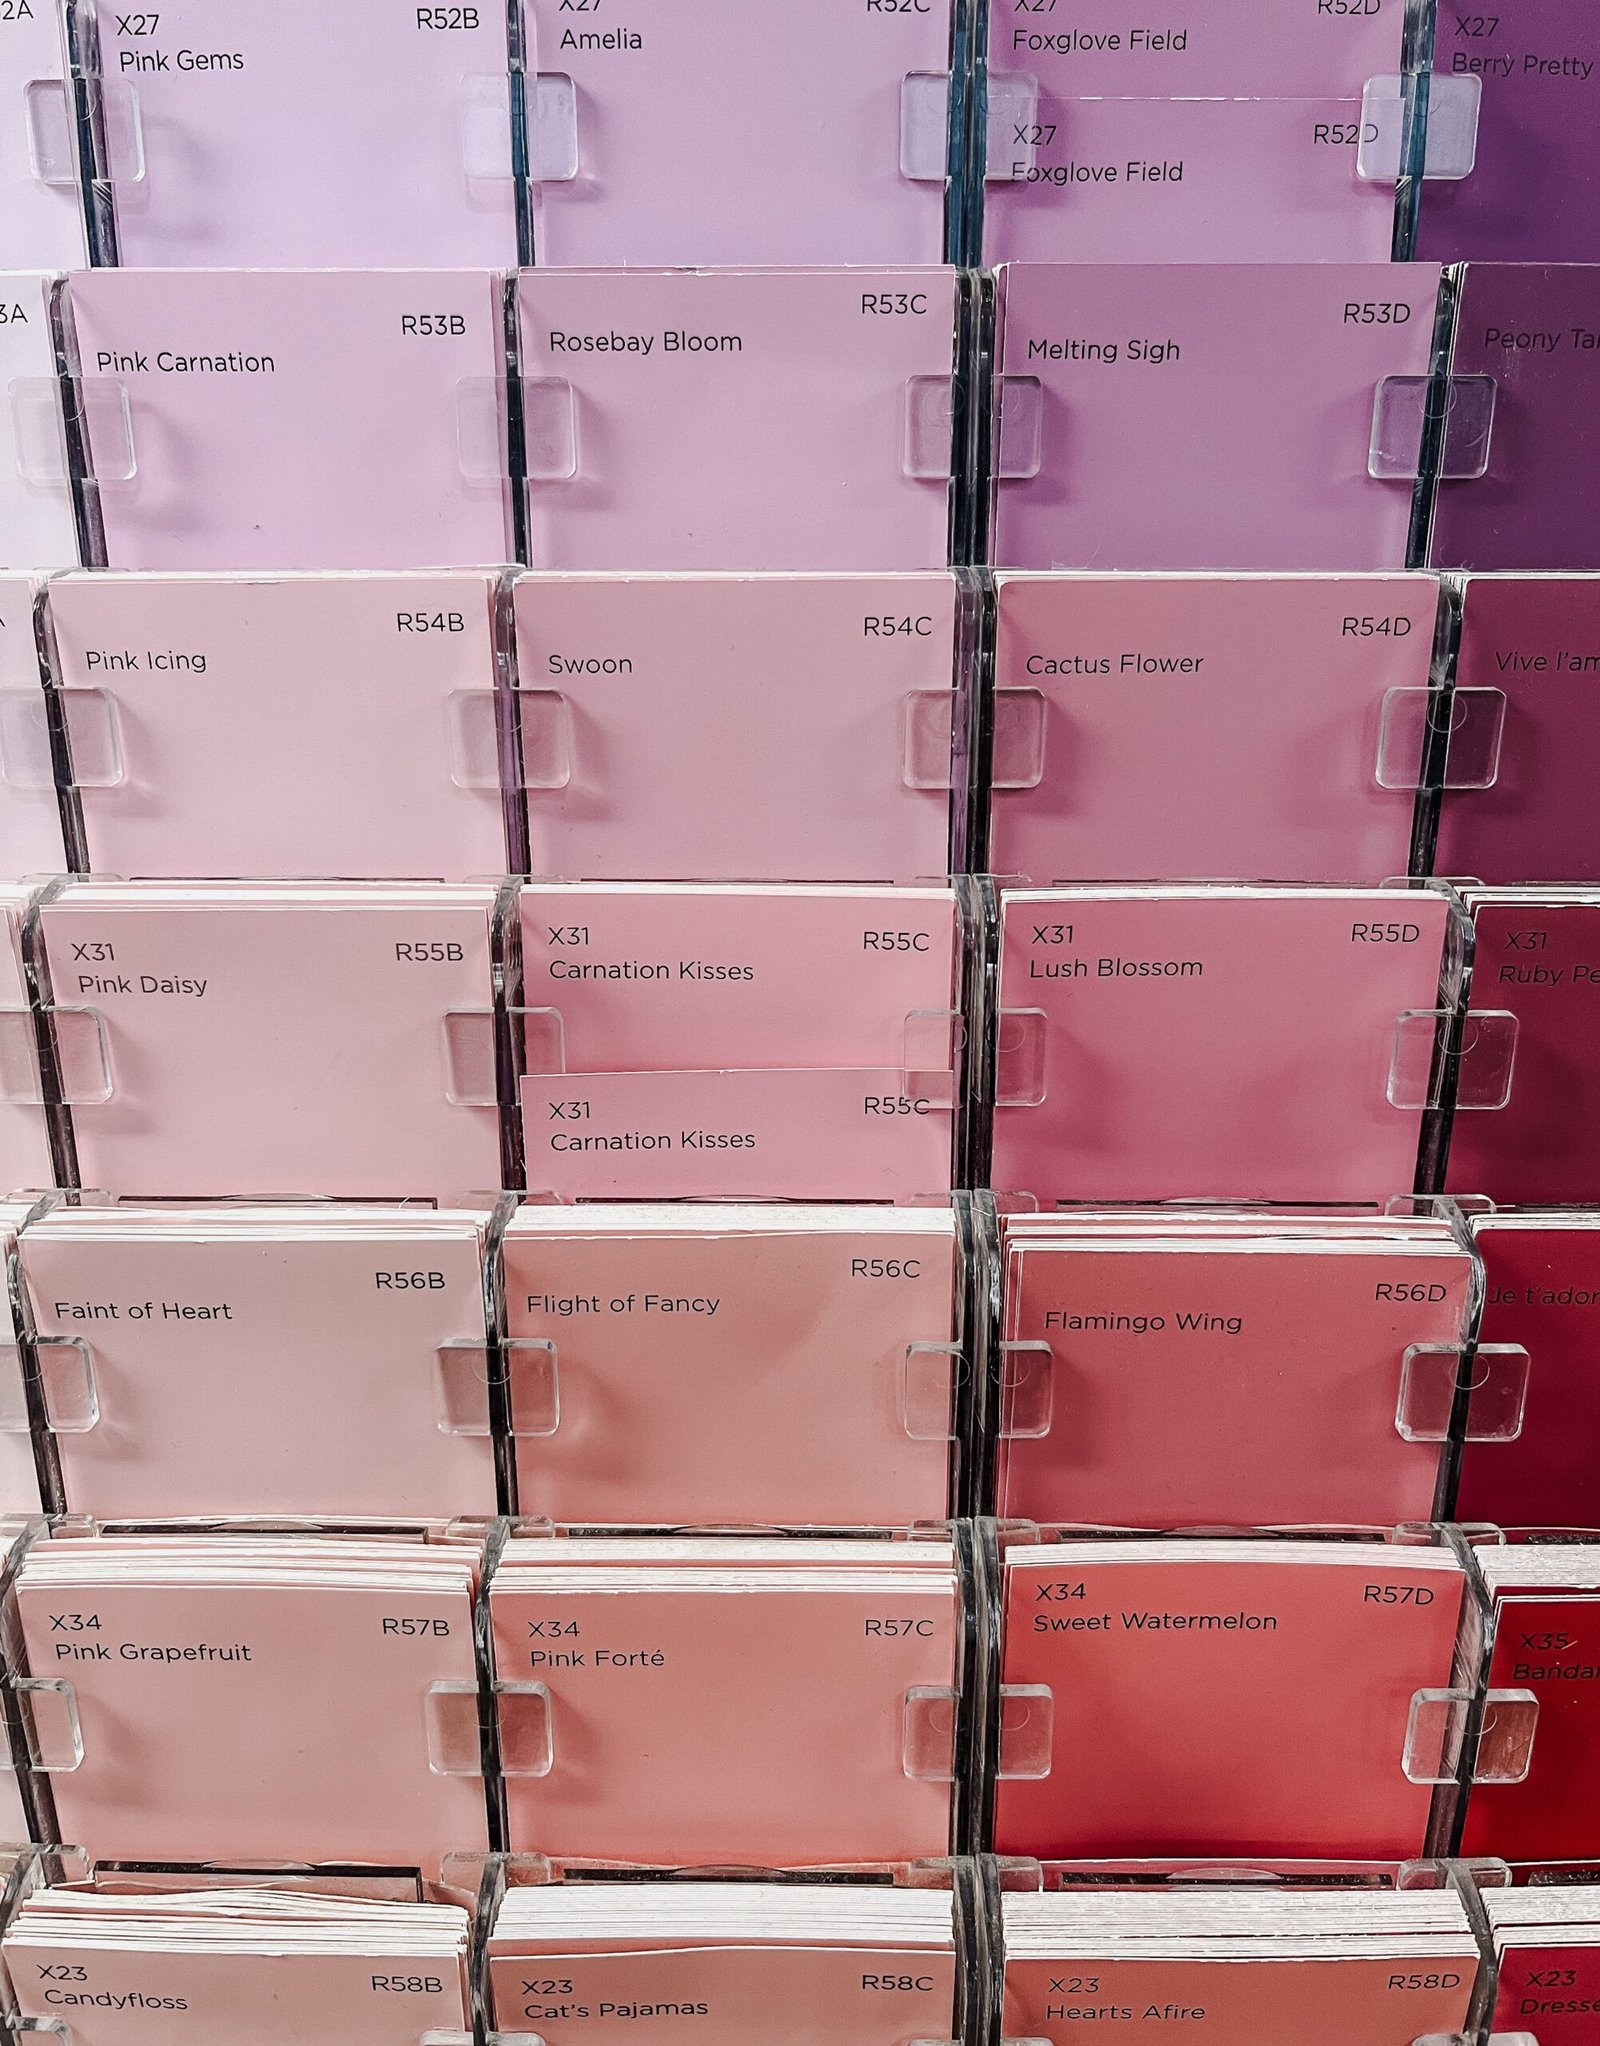
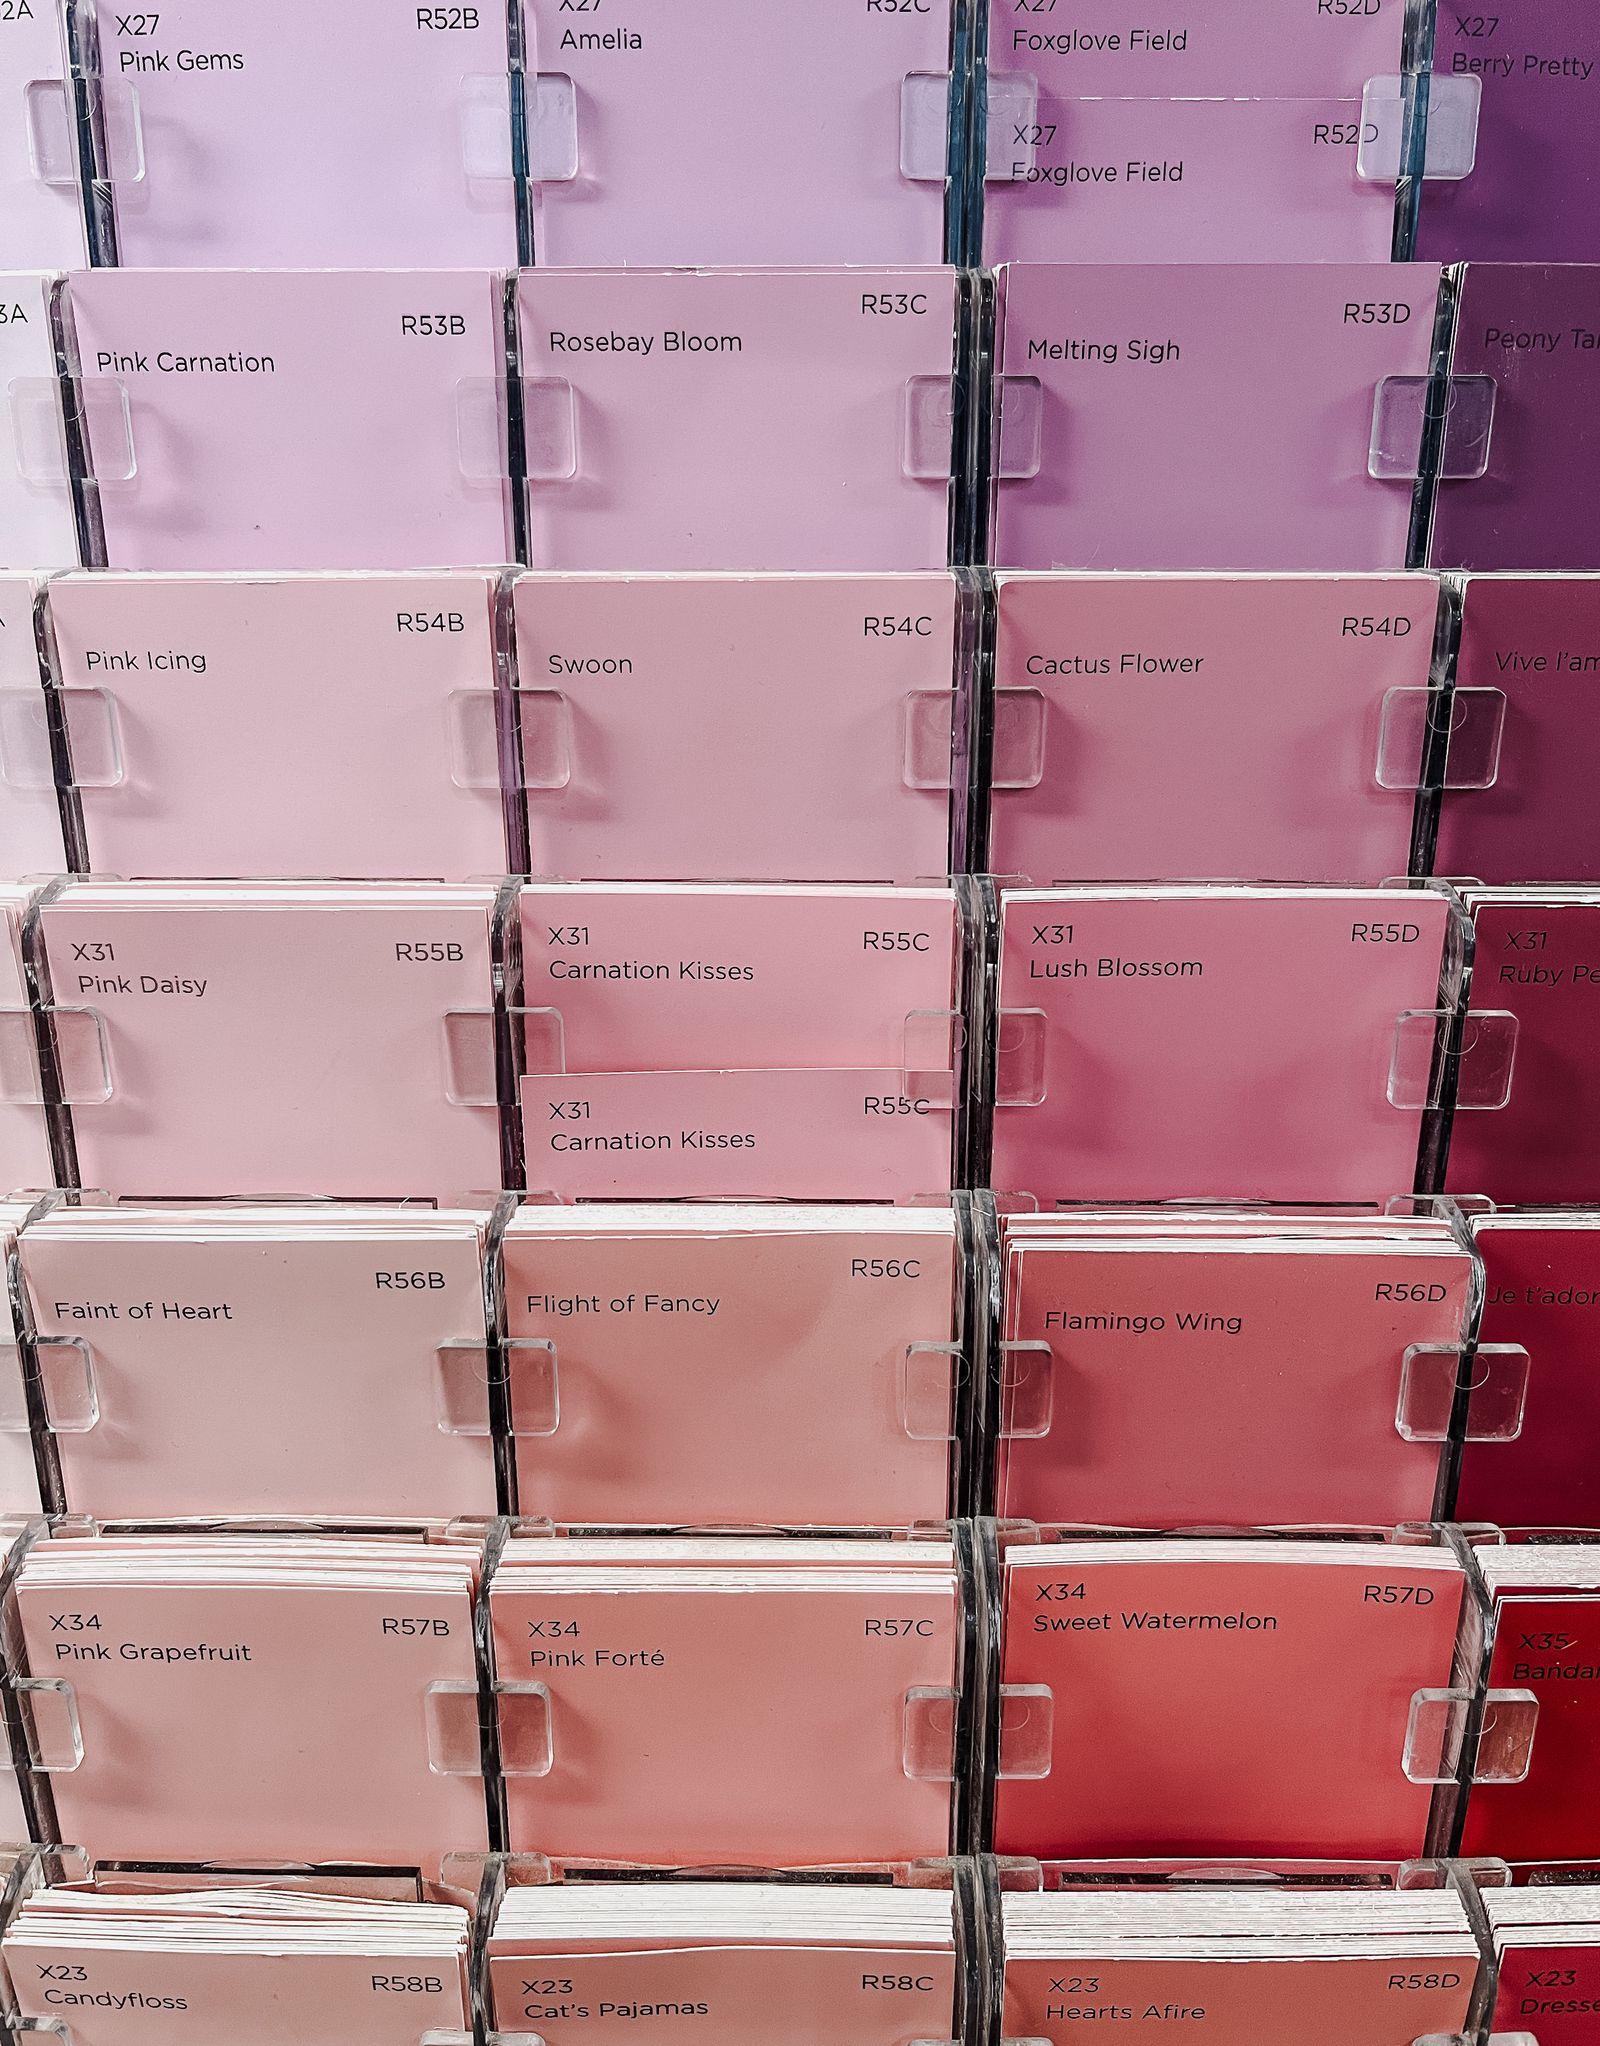
A 2-inch paint chip reflects light completely differently than an entire wall will. Painting a large sample — at least a two-foot square — gives a far more honest preview than the chip ever can, and it is the single most important habit in testing paint colors correctly before committing to a full room.
2. Only Testing in One Light
A color that looks great at noon can look completely different under evening lamp light. Checking a sample at multiple times of day catches this before it becomes a whole-room mistake, since most people actually spend more evening hours in a living room than daylight hours.
3. Skipping the Primer Coat
Painting a test swatch directly over a dark or patchy wall skews the true color. A primed test area shows the color much closer to how the finished wall will actually look, which matters most when moving from a dark existing color to something much lighter.
4. Testing Only One Coat
Most paint colors deepen or shift slightly with a second coat. Testing with the same number of coats planned for the real wall avoids a surprise once the full room is painted, especially with saturated colors.
5. Ignoring the Room Next Door
A color chosen in isolation can clash badly with the flooring or the paint already on an adjoining, visible room. Holding the sample near the doorway to a connected space catches clashes early, before an entire room ends up painted in a color that fights with everything visible just outside it.
6. Rushing the Decision
Committing to a color the same day it’s picked out skips the “does this still look right tomorrow” check that catches most regrets. Living with a sample for at least two to three days is worth the wait, since first impressions of a bold or unusual color often shift once the initial excitement wears off.
A Better Process for Testing Paint Colors
Most regretted paint colors trace back to skipping a step in testing paint colors properly, not to a bad color choice itself. A shade that looked perfect on a tiny chip can look completely different once it covers an entire wall, especially once the lighting in the room changes throughout the day.
Testing paint colors properly takes an extra day or two compared to picking straight from a fan deck, but it prevents the single most common and expensive decorating regret: repainting an entire room because the color looked wrong once it was already done.
What a Good Paint Test Actually Looks Like
A proper test means a large primed sample, the correct number of coats, and a few days of living with it under both daytime and evening light before committing. Skipping any one of those steps is how a technically “correct” color still ends up disappointing once the whole room is finished.
The Bottom Line
A paint color rarely fails because the shade itself was wrong — it fails because it was tested too small, too briefly, or in the wrong light. A larger sample, checked across a few days and lighting conditions, prevents almost every common regret.
For more painting guidance, browse our DIY projects and how-to guides, or see the EPA’s painting safety guidance for home projects.