If you want to upgrade your kitchen without spending thousands on brand new millwork, learning how to spray paint cabinet doors using vertical hangers is the most efficient method available. Suspending your cabinet doors from sturdy hangers allows you to coat both faces and all four edges in a single painting session, cutting your project time in half while completely eliminating brush strokes and roller stipple. Replacing outdated kitchen cabinets typically costs hundreds or even thousands of dollars, making a DIY paint refresh one of the highest-return updates you can tackle.
When you tackle a kitchen renovation, standard flat drying setups demand huge amounts of floor space and force you to wait days between flipping fronts and backs. Vertically suspending your millwork solves this bottleneck entirely. In this complete workshop guide, we will walk through the exact steps, safety guidelines, hardware comparisons, and adhesion techniques needed to spray paint cabinet doors with factory-grade durability.
Why Choose to Spray Paint Cabinet Doors Vertically?
The conventional method of refinishing cabinetry involves laying doors flat on sawhorses or drop cloths. While flat painting prevents gravity sags, it creates major logistical headaches. Each door requires days of drying time before you can safely flip it over to paint the reverse side. If airborne dust settles on wet horizontal surfaces, your finish ends up rough and uneven. When you spray paint cabinet doors while suspended vertically, gravity pulls excess paint downward evenly, and airborne dust has virtually no flat surface to land on.
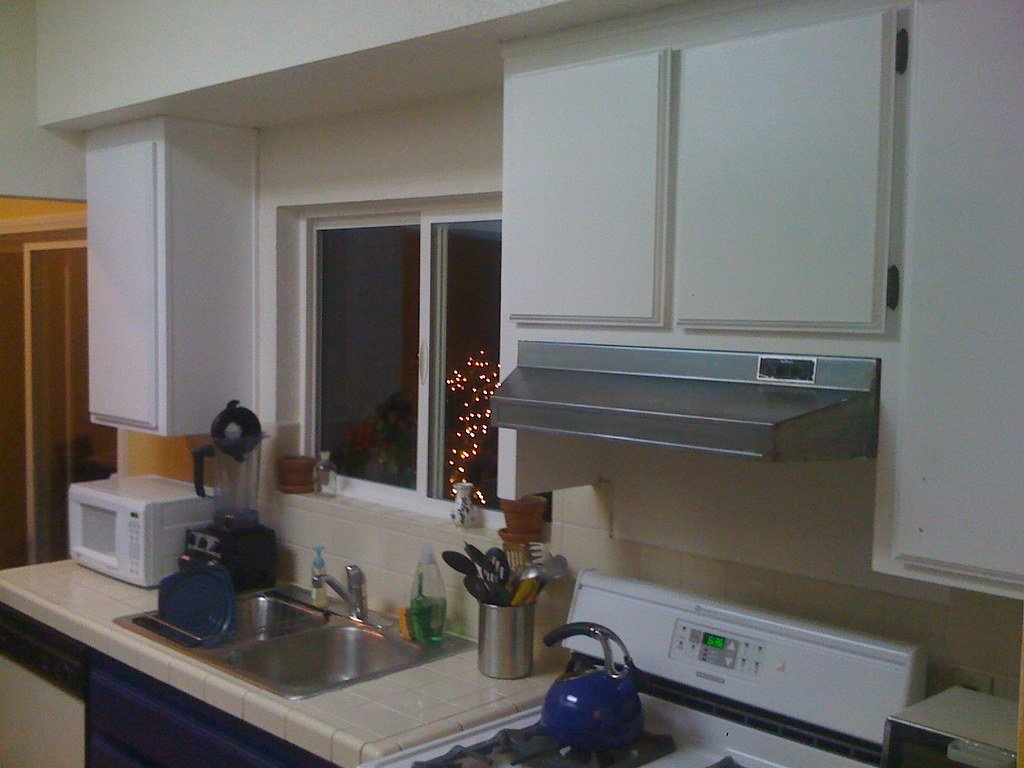
Refinishing experts agree that when you spray paint cabinet doors, vertical hanging grants 360-degree access to the entire door assembly. You can seamlessly coat the front face, the back panel, and the top, bottom, and side profiles in one continuous pass. This eliminates lap marks where wet paint meets dry edges. Whether you are working in a two-car garage or a basement workshop, hanging your doors from heavy-duty racks condenses dozens of cabinet components into a compact, easily ventilated drying footprint.
Complete Materials Shopping List and US Cost Breakdown
Refinishing your kitchen yourself offers staggering savings compared to commercial shop spraying or custom cabinet replacement. A professional refinisher typically charges between $3,000 and $7,000 to coat an average kitchen. Tackling the job on your own delivers showroom results at a fraction of that price. When homeowners decide to spray paint cabinet doors themselves, the total expense usually runs between $120 and $250 for hardware, abrasives, and coatings, or up to $350 for an entry-level High Volume Low Pressure (HVLP) spray system.
To help you budget accurately, here is the full breakdown of supplies and US price ranges required to spray paint cabinet doors cleanly at home:
- Heavy-Duty Degreaser: TSP substitute or Krud Kutter ($8 – $12)
- Assorted Sandpaper: 120-grit, 180-grit, and 220-grit silicon carbide sheets ($12 – $18)
- Microfiber Tack Cloths: Pack of 6 to remove all fine sanding dust ($6 – $10)
- Hanging Hardware: Steel cup hooks or screw eye hooks ($7 – $14)
- Heavy Clothes Hangers: Wooden hangers or hangers to paint cabinet doors ($10 – $20)
- Suspension Rack: Heavy-duty commercial rolling garment rack or conduit bar ($30 – $50)
- Bonding Primer: 1 gallon of shellac-based or oil-based primer ($45 – $65)
- Cabinet Enamel: 1 gallon urethane-modified alkyd enamel ($65 – $95)
- HVLP Paint Sprayer: Sprayer rental or handheld electric turbine ($60 – $160)
- Safety Equipment: Half-mask respirator with organic vapor filters, nitrile gloves, and goggles ($25 – $40)
- Wood Filler and Putty Knife: Fast-drying wood patch for concealing hook holes ($8 – $12)
Investing in dedicated safety equipment is non-negotiable when you spray paint cabinet doors indoors or inside a workshop. Solvent-based primers and atomized paint mists release fine droplets and volatile organic compounds (VOCs). A basic paper dust mask will not protect your lungs. According to the EPA Lead-Safe Guidelines, homes built before 1978 also require special containment protocols during sanding. Always wear an approved respirator with organic vapor cartridges and ensure high-volume cross-ventilation before pulling the trigger.
Comparing Cabinet Door Suspension Hardware
Choosing the right suspension hardware determines both your workflow efficiency and the final appearance of your doors. While viral social media videos often show basic dry cleaner wire hangers, professional craftsmen utilize specific hook systems designed to bear significant weight without flexing or dropping pieces mid-spray. If you plan to spray paint cabinet doors successfully, matching your hardware to your door style is critical.
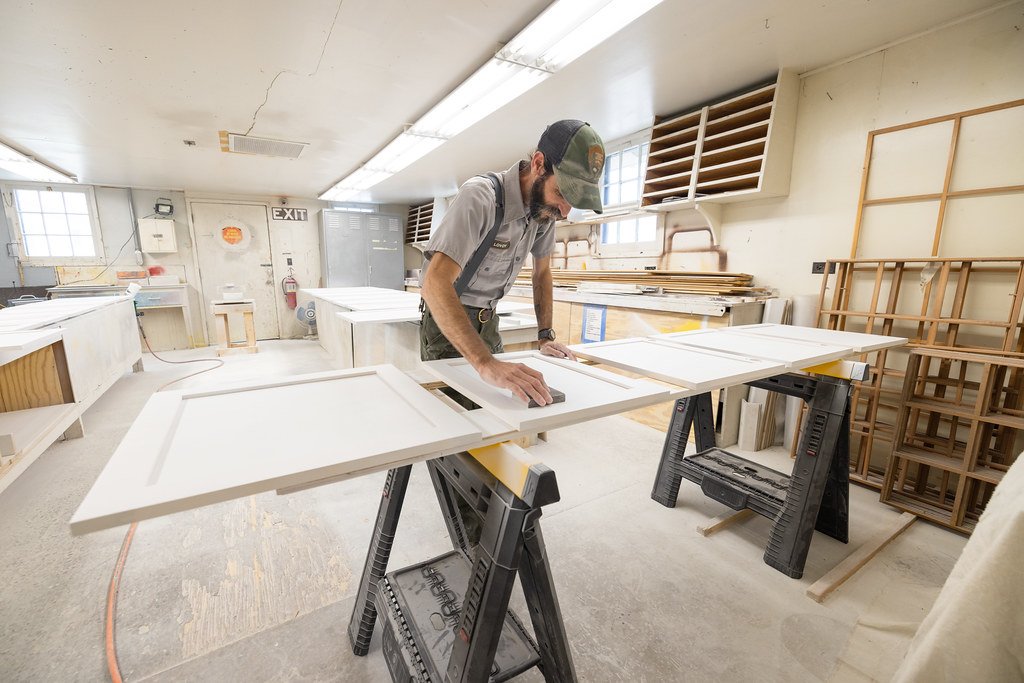
The table below compares the three primary methods used to suspend and support cabinetry components during painting:
| Hardware Type | Approximate Cost | Setup Speed | Edge Access | Post-Paint Patching | Weight Capacity |
|---|---|---|---|---|---|
| Screw-In Cup Hooks | $8 – $15 | Fast (drill pilot hole) | Complete 360° | Yes (small edge hole) | Up to 25 lbs per hook |
| Specialty Hinge Hooks (Rockler Sure-Hook) | $20 – $35 | Very Fast (uses hinge mortise) | Complete 360° | None (completely hidden) | Up to 30 lbs per pair |
| Horizontal Stacking Racks | $75 – $150 | Slow (one face at a time) | Edge lines visible | None | Unlimited (floor-supported) |
For most DIYers, screw-in cup hooks provide the most accessible balance of price and stability when you spray paint cabinet doors. Screwing one or two cup hooks into the bottom edge of a cabinet door allows it to hang securely from a clothes hanger so both sides can be painted without waiting for one side to dry. Because the bottom edge of an upper cabinet sits above eye level, and the bottom edge of a base cabinet is similarly concealed, the tiny screw holes remain virtually invisible once patched.
The Best Way to Hang Cabinet Doors to Spray Paint
Setting up an organized suspension rig is essential before you spray paint cabinet doors. Start by thoroughly numbering every single door and drawer front using numbered painter’s tape inside the hinge pocket. Cabinet doors may look identical, but hinges and face frames develop unique alignment quirks over time. Failing to label components turns reinstallation into a frustrating puzzle.
Once your components are cataloged, drill shallow pilot holes centered along the edge using a 3/32-inch drill bit. For standard doors under 30 inches tall, a single heavy-duty screw eye or cup hook centered on the edge provides adequate balance. For tall pantry doors or solid maple doors weighing over 15 pounds, install two hooks spaced 4 to 6 inches apart to distribute the weight evenly when you spray paint cabinet doors. This prevents the door from wobbling or tilting when struck by the high-pressure airflow of your paint sprayer.
Next, hang your doors from clothes hangers with swivels. Using clothes hangers with swivels makes it easy to spray the back of a cabinet door first and immediately turn it to coat the front as you spray paint cabinet doors. When painting cabinets hangers must be sturdy enough to prevent flexing. However, air pressure from an HVLP sprayer can easily cause free-hanging doors to spin wildly. To combat spinning, stabilize the bottom edge with a gloved finger or rest a small weighted guide wire against the back corner while spraying.
Building a reliable vertical drying station is essential when you spray paint cabinet doors at home. A commercial rolling garment rack works wonderfully, but avoid overloading it. Solid wood cabinet doors can weigh 8 to 18 pounds each. If you hang 12 doors on a lightweight rack rated for 50 pounds, the crossbar will sag or collapse. For larger kitchen projects, build a sturdy temporary drying station using 2×4 lumber or suspend 3/4-inch metal electrical conduit between ceiling joists in your garage.
Step-by-Step Surface Preparation for Lasting Adhesion
No paint can overcome poor surface preparation. Factory cabinet finishes are formulated to resist grease, oils, moisture, and fingerprints. If you attempt to spray paint cabinet doors without thoroughly cleaning and scuffing the original protective clearcoat, the new enamel will scratch off with your thumbnail. Take your time during prep work to guarantee a durable, permanent bond.
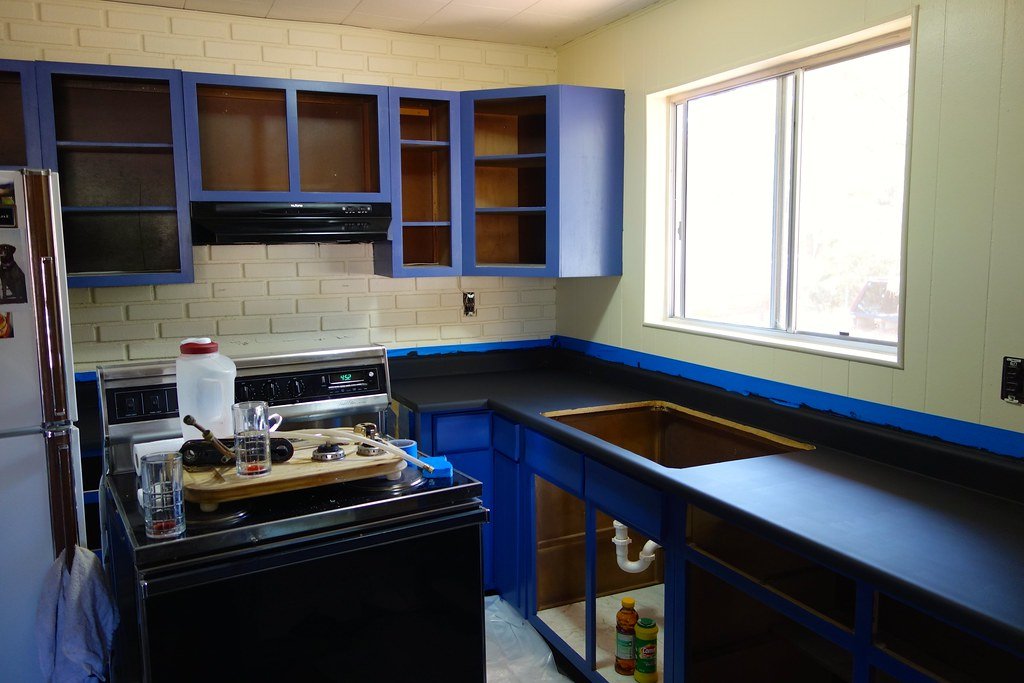
A thorough cleaning routine is mandatory before you spray paint cabinet doors in high-traffic kitchens. Wash every door with a heavy-duty degreaser like TSP substitute or Krud Kutter. Kitchen doors collect a microscopic film of vaporized cooking oils, particularly near the range and microwave. Scrub the door faces, decorative profiles, and edges with an abrasive nylon pad soaked in your cleaning solution. Rinse with a clean, damp microfiber cloth and allow the wood to dry completely before touching sandpaper.
Once clean, begin sanding to create a mechanical profile. You do not need to strip the cabinets down to bare raw wood; your goal is simply to knock down the existing sheen. Use 120-grit to 150-grit sandpaper on flat panels using a random orbital sander, and fold the paper by hand to scuff inner moldings. Follow with 220-grit sandpaper to smooth out any sanding swirls. Wipe down every door with a fresh tack cloth to capture microscopic dust before you spray paint cabinet doors.
Primer Selection: Shellac vs. Oil-Based Bonding Primers
Selecting the correct primer is one of the most critical decisions when you spray paint cabinet doors. Standard water-based latex primers lack the adhesion power required for slick factory finishes and cannot prevent wood tannins from bleeding through light paint colors. Woods such as oak, mahogany, and knotty pine contain high levels of water-soluble tannins that will migrate through latex coatings, creating yellow or brown stains within weeks.
Shellac-based primer, such as Zinsser B-I-N, is widely considered the gold standard for sealing raw wood, blocking tannin bleed, and creating a tenacious bond when you spray paint cabinet doors. Shellac dries rapidly in 45 minutes, sprays smoothly through an HVLP nozzle, and sands to a fine powder that makes imperfections easy to spot. Alternatively, an oil-based bonding primer provides superior leveling and grain filling, though it requires longer dry times and mineral spirits for cleanup.
If you are spray painting mdf cabinet doors, shellac or oil primer is mandatory to seal porous edges before you spray paint cabinet doors. Medium-density fiberboard has absorbent core fibers, particularly along routed edges. Applying a water-based primer directly to MDF will cause the wood fibers to swell and produce a rough, fuzzy texture that is nearly impossible to sand smooth. Solvent-based primers seal the porous MDF edges cleanly on the first coat.
Mastering Spray Technique to Spray Paint Cabinet Doors
Achieving an ultra-smooth, factory-quality finish requires disciplined gun control and proper equipment calibration. Whether you are using aerosol cans or an HVLP turbine, practice on scrap cardboard first. Adjust your fluid knob and air pressure until you get an even, oval fan pattern with fine atomization and no heavy splatters along the outer perimeter. When you spray paint cabinet doors, thin, consistent layers always outperform one heavy coat.
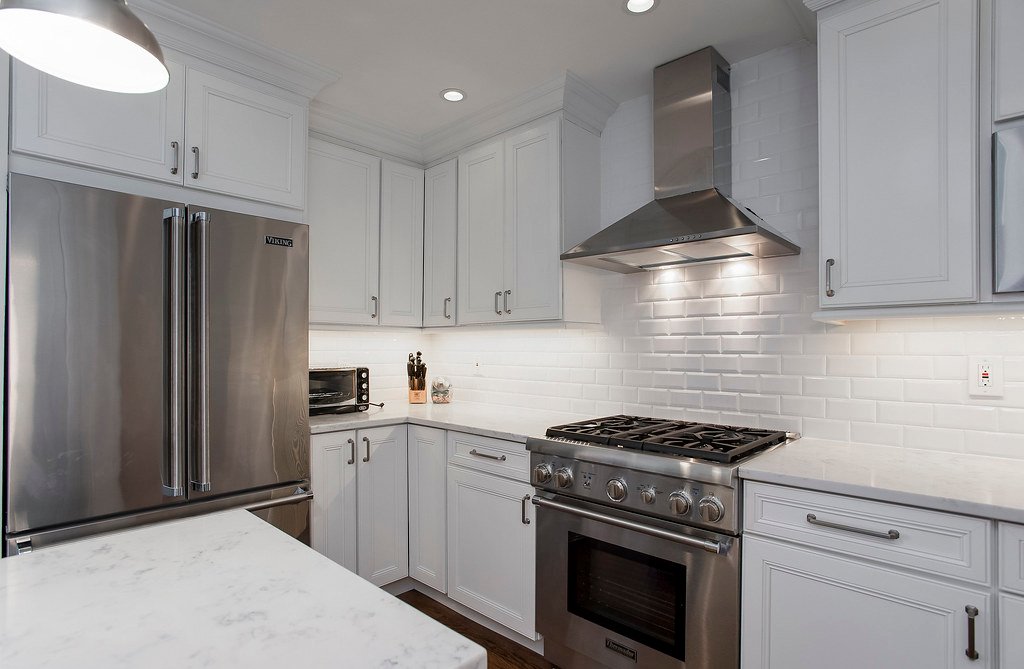
Always follow a strict spraying sequence when you spray paint cabinet doors to avoid overspray dry-fall on visible surfaces. Start by spraying all four outer edges of the door. Next, rotate the hanger to coat the back panel, using smooth horizontal passes with a 50 percent overlap. Finally, spin the door around and spray the front face, keeping the spray tip exactly 8 to 10 inches away and perpendicular to the door surface throughout the stroke.
Proper trigger timing is essential to spray paint cabinet doors without creating heavy buildup along outer profiles. Avoid arching your wrist as you sweep across the cabinet door. Sweeping in an arc deposits heavy paint in the center and starves the outer edges. Instead, move your entire arm and torso parallel to the door face. Release the trigger slightly past the outer edge of each pass to keep paint distribution completely uniform. Applying two light coats of enamel ensures full coverage without vertical runs or curtain sags.
Drying Times vs. Full Curing: What DIYers Must Know
One of the biggest pitfalls when DIYers spray paint cabinet doors is confusing dry time with cure time. Most modern cabinet enamels feel dry to the touch within 1 to 2 hours and can be safely recoated after 4 to 8 hours under proper environmental conditions. However, full chemical curing takes anywhere from 14 to 30 days. During curing, solvents evaporate completely and the enamel crosslinks into a rock-hard protective shell.
Hanging cabinet doors to dry in an open, well-ventilated area like a garage or yard speeds up drying significantly compared to relying on indoor kitchen exhaust fans when you spray paint cabinet doors. Keep your workshop temperature between 65 and 75 degrees Fahrenheit with humidity below 60 percent. If drying doors outdoors, select a calm, overcast day free from pollen, windblown debris, and direct scorching sun, which can flash-dry paint and cause bubbling.
When you hang cabinet doors to paint, leave them suspended on your secondary drying rack for at least 48 to 72 hours so you do not damage your finish after you spray paint cabinet doors. Even if the enamel feels tack-free, premature handling will press finger indentations into soft paint or cause rubber cabinet bumpers to weld into the finish. Treat your newly sprayed doors with gentle care for the first month while the coating achieves full hardness.
How to Conceal Hook Holes After Hanging Cabinet Doors to Paint
Learning how to conceal hanging hook holes ensures that after you spray paint cabinet doors, every edge looks completely seamless. Once your doors have dried for several days, you can safely remove the hanging hardware. Because hooks are drilled into the bottom edge of wall cabinets and the top edge of base cabinets, these spots are naturally hidden from everyday sight lines. However, filling and sealing them prevents moisture from penetrating the wood core during routine kitchen cleaning.
Careful filling preserves edge integrity once you spray paint cabinet doors. Unscrew the cup hooks by hand. Using your finger or a small flexible putty knife, press a dab of stainable wood filler or spackling compound firmly into the hole, leaving a slight dome to account for minor shrinkage as the filler dries. Allow the filler to harden for 30 minutes, then sand it perfectly flush with 220-grit sandpaper.
This micro touch-up technique ensures that after you spray paint cabinet doors, your hanging points remain completely invisible. Dip a fine-tipped artist brush or high-density foam dabber into your leftover cabinet paint and dab a tiny amount over the sanded filler. Because the edge profile was already sprayed and sealed, this micro touch-up blends seamlessly and disappears into the existing finish. Your cabinet door edges remain completely protected and pristine.
Common Mistakes When You Spray Paint Cabinet Doors at Home
Refinishing kitchen cabinets is a high-reward project, but small oversights can ruin your finish. The most frequent error when homeowners spray paint cabinet doors is using flimsy wire dry-cleaner hangers to support heavy doors. Standard wire hangers deform under the weight of solid oak or MDF, causing doors to slip or lean against neighboring pieces. Always use thick wooden hangers or heavy-gauge steel S-hooks rated for at least 20 pounds.
Another common pitfall when you spray paint cabinet doors is applying paint too heavily in a single pass. When cabinet doors are suspended vertically, excessive wet paint will succumb to gravity, producing unsightly drips, runs, and fat edges. Applying two or three micro-thin coats guarantees a flat, mirror-like factory finish. If a drip occurs, let it dry completely, sand it flat with 320-grit paper, and respray lightly.
Neglecting to protect hinge cups is another oversight that causes trouble when you spray paint cabinet doors. If your layout includes spray paint glass cabinet doors, mask the glass panes thoroughly with builder paper. Similarly, do not forget to mask off hinge mortises if you use European cup hinges. Getting paint buildup inside the 35mm hinge bore can prevent hinges from seating flush against the door, causing severe alignment headaches during reinstallation. Place a small circular piece of painter’s tape inside each hinge pocket before priming and painting.
Real-Life Example: Upgrading 24 Oak Cabinets on a Weekend
Picture Marcus, a homeowner who purchased a 1990s house featuring 24 dated, honey-oak kitchen cabinet doors with heavy wood grain. Marcus wanted to modernize the dark kitchen with a clean, bright aesthetic but faced a tight budget and an even tighter schedule. With only a standard two-car garage for workspace, laying 24 doors flat would have monopolized the entire floor for two weeks while waiting between flipping coats.
Marcus realized that the fastest update was to spray paint cabinet doors vertically using clothes hangers. After degreasing with TSP substitute and scuff-sanding, Marcus installed heavy cup hooks into the bottom edges and suspended them from swivel hangers on rolling racks. Marcus coated both sides in single sessions using shellac primer and urethane enamel. Spraying both sides vertically cut the project from two weeks to three days, saving over $4,200 compared to professional refacing. Vertical hanging transforms cabinet refinishing from an overwhelming chore into a streamlined weekend DIY victory.
Frequently Asked Questions
Can you spray paint cabinet doors?
Yes, you can spray paint cabinet doors, and it is widely recognized by professionals as the best way to achieve a smooth, brushmark-free factory finish. Spraying atomizes the enamel into fine particles that level out smoothly across wood or MDF panels. With proper surface degreasing, scuff sanding, and a high-adhesion bonding primer, sprayed cabinet doors will withstand heavy daily wear, grease, and moisture for years.
How to hang cabinet doors to spray paint?
To spray paint cabinet doors using vertical hangers, drill a shallow 3/32-inch pilot hole into an inconspicuous edge, such as the bottom of an upper door or top of a base door. Thread a steel cup hook into the hole, and suspend it from a sturdy clothes hanger on a freestanding garment rack. Coat the edges first, spin the door to paint the back panel, and immediately turn it to coat the front.
How to hang cabinet doors to paint without screws?
When you spray paint cabinet doors without screws, specialty hinge hooks provide an ideal solution. Products like Rockler Sure-Hook hangers slide directly into the existing 35mm concealed hinge mortises on the back of the door without drilling new holes. The hooks hold the door securely during spraying and vertical drying, leaving zero holes to patch once the project is finished.
How long to wait to hang cabinet doors after painting?
Allow adequate curing time after you spray paint cabinet doors before reattaching heavy hardware. You should wait at least 48 to 72 hours before reassembly. While modern cabinet paint dries to the touch in two hours, the finish remains soft and susceptible to pressure marks. Reinstall doors carefully after three days and avoid aggressive scrubbing for 30 days while the paint cures fully.
Can you spray paint cupboard doors made of MDF?
When you spray paint cabinet doors made of MDF, sealing the edges with solvent primer is vital. MDF absorbs water rapidly, causing unfinished fibers to swell and turn fuzzy under latex paint. Spraying a coat of shellac-based or oil-based primer locks the porous fibers, allowing you to sand the edges silky smooth before applying your topcoat enamel.
Refinishing cabinetry with vertical hanging hardware represents the perfect marriage of workshop efficiency and professional aesthetics. When you spray paint cabinet doors using clothes hangers, you bypass the space constraints and multi-day waiting periods of traditional flat drying. By adhering strictly to proper degreasing, thorough sanding, solvent-based priming, and light overlapping spray passes, you create a kitchen showpiece that stands up to daily family life.
Explore our companion guides on DIY projects, discover clever home organization solutions, and dive into our latest kitchen makeovers for more smart home improvement inspiration.
Sources: Technique inspired by Hunker’s guide to cabinet painting with hangers. Cabinet coating guidelines referenced from Sherwin-Williams Cabinet Refinishing Guide, hardware solutions from Rockler Woodworking, and workshop safety standards from the EPA Lead-Safe Guidelines.