Pill bottle crafts offer one of the most creative ways to turn household waste into a genuine conversation piece — specifically, a sculptural globe pendant light made entirely from empty prescription bottles. If you have a growing collection of old pill bottles and want a budget-friendly statement lamp, this guide walks you through the full build from start to finish. You will find two skill-level paths, a complete materials list with current US prices, safe drug disposal steps, design variations, and maintenance advice so you can complete this project in a single session.
Why Pill Bottle Crafts Make Surprisingly Good Lighting
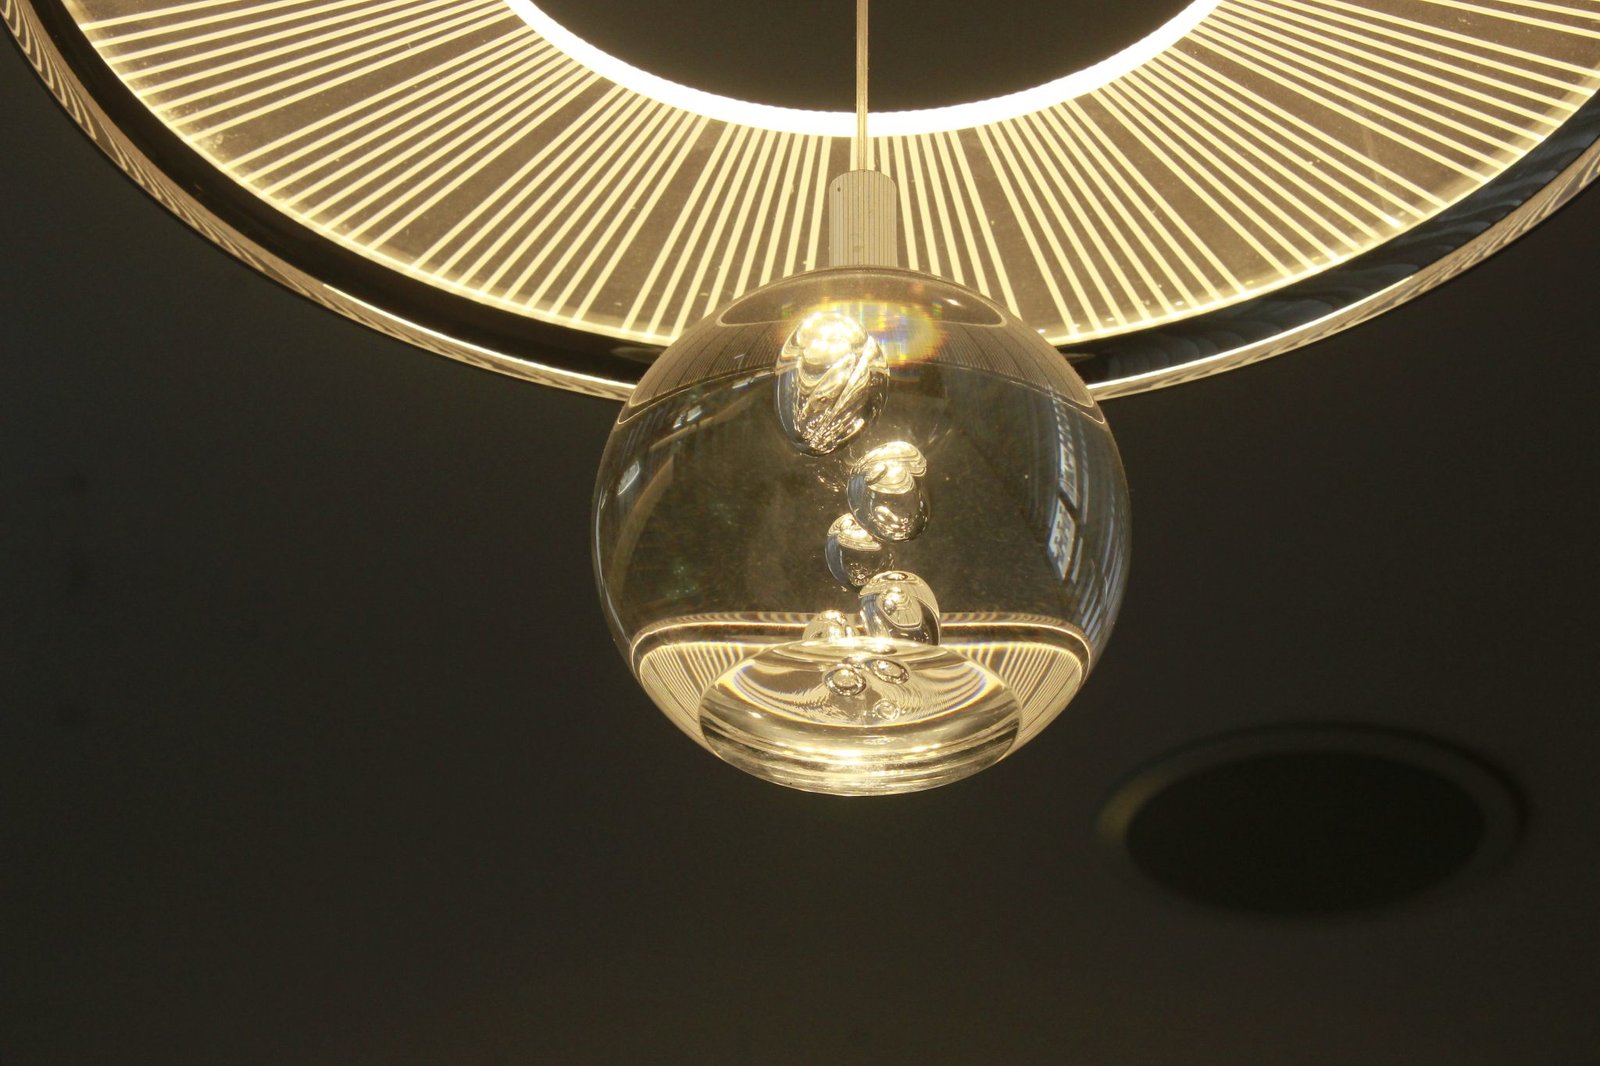
Prescription bottles are translucent, lightweight, and come in multiple sizes. Those three qualities make them ideal raw material for a light fixture. When attached to a globe pendant frame, the bottles diffuse light in unpredictable directions, creating a warm, sculptural glow that looks far more expensive than it costs. Using bottles of varying sizes adds more dimension and visual depth to the finished lamp, according to Hunker.
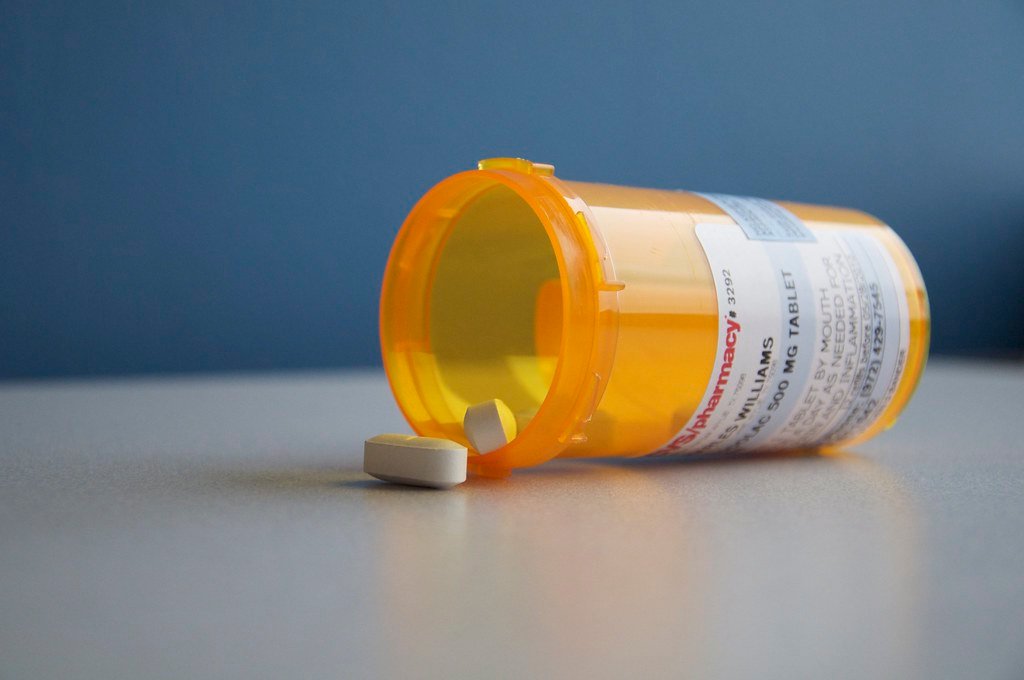
Pill bottle crafts also solve a real environmental problem. Many prescription bottles end up in the trash because some curbside programs do not accept small or residue-contaminated containers, so check your local rules. Turning them into a lamp keeps them out of the waste stream and gives you a functional art piece at the same time.
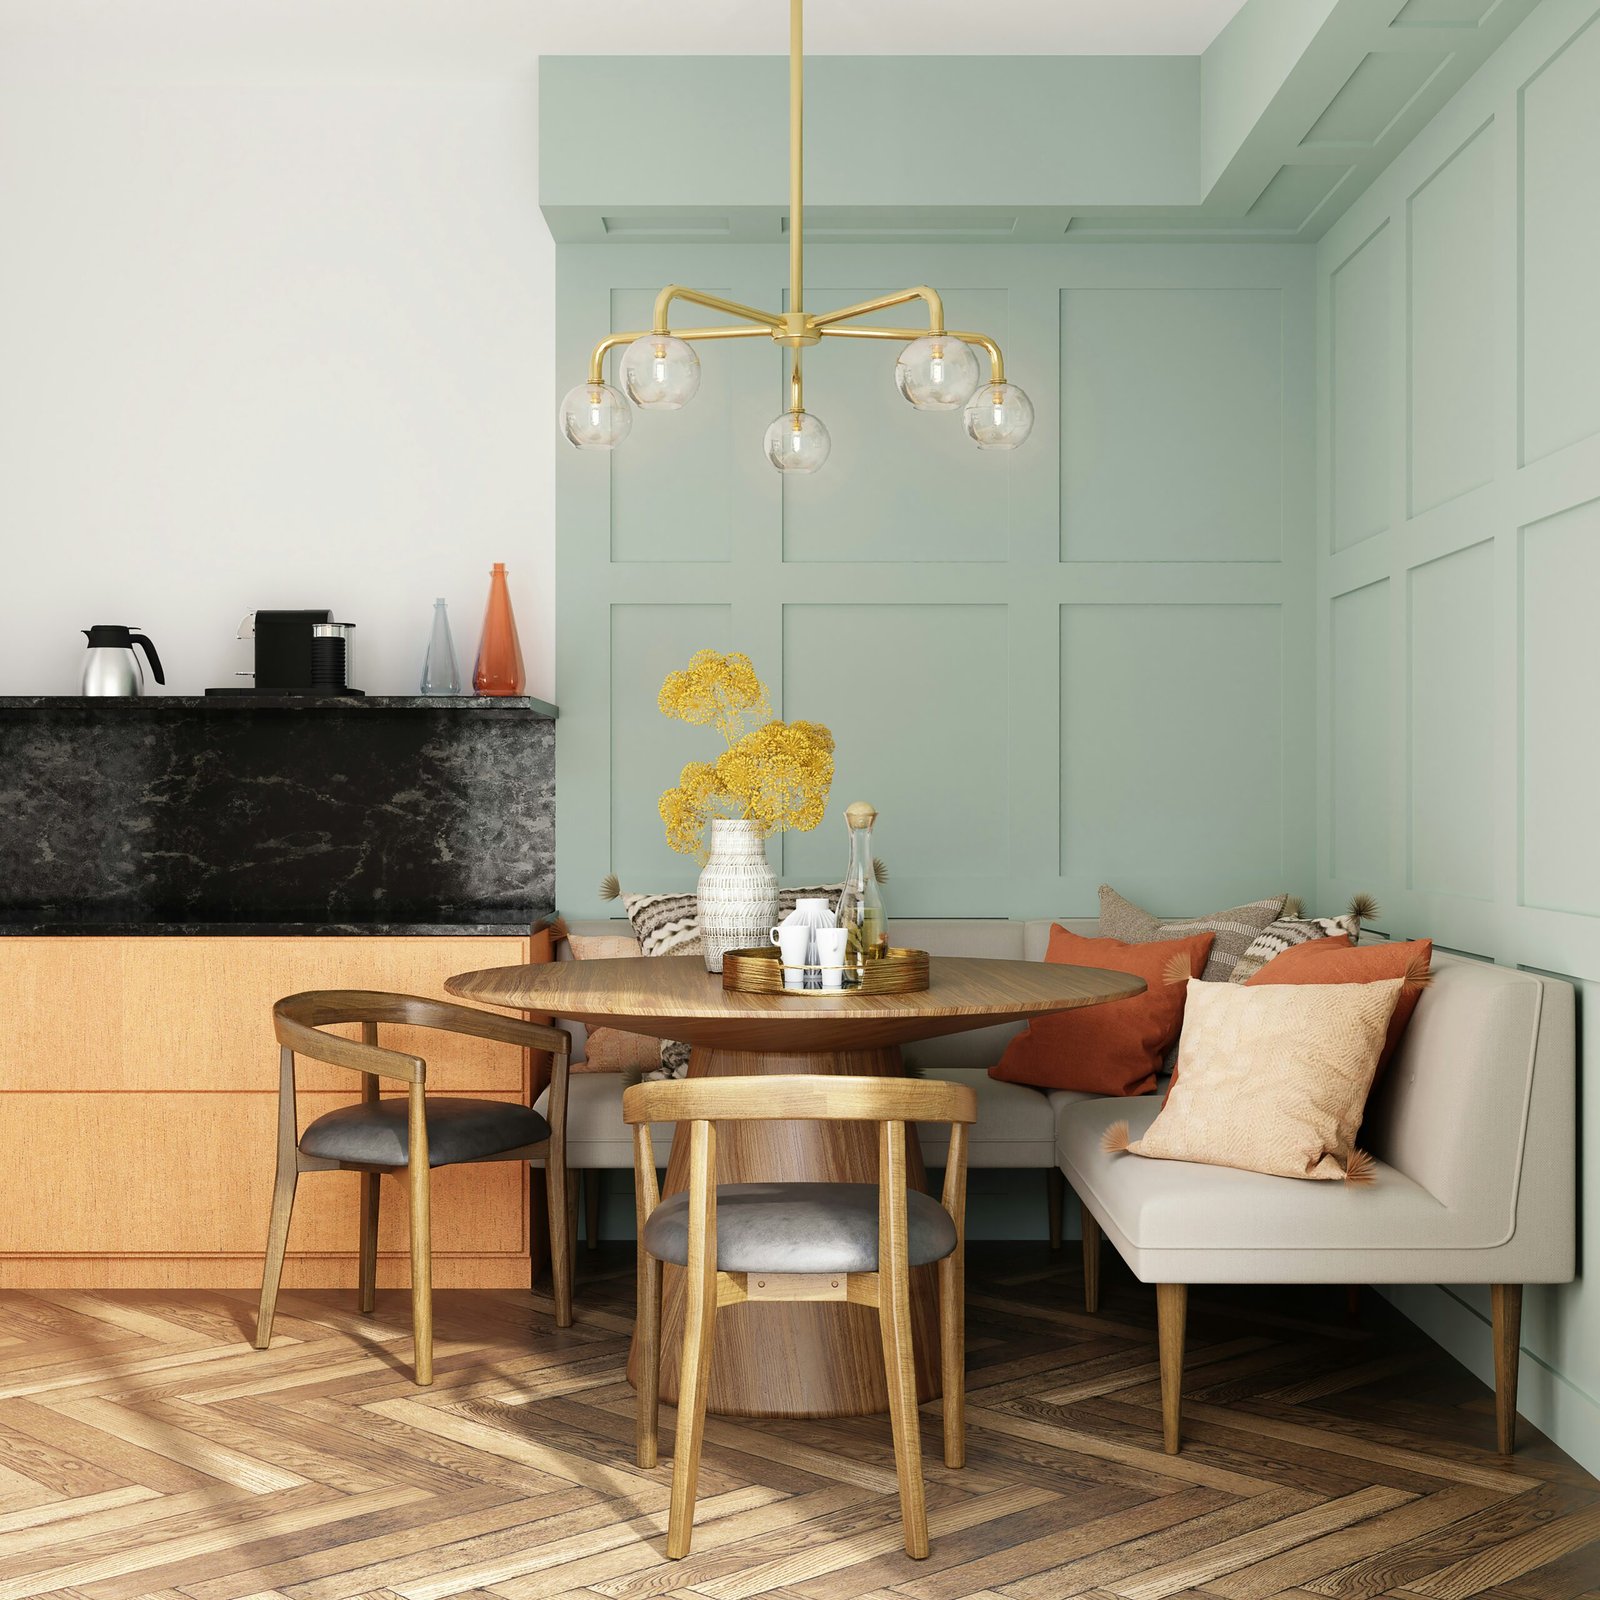
The finished pendant works in maximalist spaces where texture and eclecticism are welcome, in creative offices that benefit from unusual focal points, and even in kids’ rooms when spray-painted in bright, playful colors. It pairs well with industrial, bohemian, and mid-century modern styles — any setting where a handmade object feels intentional rather than out of place.
Safe Drug Disposal Before Starting Pill Bottle Crafts
Before you touch a single bottle, every container must be completely empty and free of medication residue. This is not optional — it is a safety and legal issue. Here is how to handle leftover medication responsibly before beginning any pill bottle crafts project.
DEA Take-Back Programs
The DEA’s National Prescription Drug Take-Back program collects unused medications for safe disposal. Take-back events are held periodically, and many pharmacies offer year-round kiosks; use the DEA locator to find one near you. This is the safest, most recommended method for disposing of most prescription drugs.
Mail-Back Envelopes
Some pharmacies and drug manufacturers offer prepaid mail-back envelopes. You place unused medication inside, seal the envelope, and drop it in the mail. This is a convenient option if no take-back location is nearby. Check with your local pharmacy to see if they carry these envelopes.
FDA Flush List
The FDA keeps a short, specific flush list of medicines (some opioids, for example) that it advises flushing if no take-back option is available. Check the current list on FDA.gov for your exact medication. Do not flush anything that is not on it. For all other medications, mixing with coffee grounds or cat litter in a sealed bag and placing in household trash is the FDA-recommended home disposal method.
Once your bottles are empty, scratch out or shred the label information if you do not peel it off, and never reuse a bottle that still holds medication. Wash each container with warm soapy water. Use a scrub brush or adhesive remover like Goo Gone to clear any sticky residue. According to Hunker, labels should be removed and bottles scrubbed thoroughly before attaching them for a uniform look. Let them dry completely before building. Clean, label-free bottles also protect your privacy — prescription labels contain personal health information.
Full Materials List for Pill Bottle Crafts Globe Lamp
Here is everything you need for this pill bottle crafts project, with current US price ranges so you can budget before you start.
| Material | Estimated US Price | Notes |
|---|---|---|
| Globe pendant light frame (wire or open-cage style) | $15–$35 | Look for an open-frame orb or sphere pendant at hardware stores or online |
| LED bulb (standard E26 base) | $5–$10 | LED only — incandescent or halogen bulbs generate too much heat for plastic |
| Pendant light cord kit (if not included with frame) | $10–$18 | Includes socket, cord, and ceiling canopy |
| Empty prescription bottles (20–40 bottles) | Free | Mix sizes for best visual effect |
| Super glue (for glue method) | $3–$6 | Gel formula holds better on curved plastic surfaces |
| Small screws and drill (for screw method) | $5–$12 | Short sheet-metal screws, 1/2 inch or smaller |
| Spray paint (optional) | $5–$12 per can | Frosted glass or metallic finishes preserve translucency |
| Sandpaper, 220 grit (optional) | $3–$5 | Light scuffing helps paint adhere to smooth plastic |
Total project cost typically falls between $25 and $70, depending on whether you already own a drill and how many cans of spray paint you use. This makes pill bottle crafts one of the most affordable DIY lighting projects available.
Method 1: The Glue Path (Beginner Pill Bottle Crafts)
Difficulty: Beginner
Active time: 1–1.5 hours, plus 2–4 hours drying time
Tools needed: Super glue (gel formula), clean cloth, rubbing alcohol
This approach requires no power tools and is accessible to anyone comfortable with basic crafting. According to Hunker, super glue is a viable tool-free alternative to screwing bottles onto the globe pendant. Here are the step-by-step instructions for this pill bottle crafts method.
Step 1: Plan Your Layout
Before gluing anything, hold your cleaned bottles against the globe frame and experiment with arrangement. Alternate large and small bottles to create visual variety. Decide whether you want the bottle caps facing outward (more uniform texture) or the open ends facing outward (more depth and shadow play). Lay the globe on a towel so it does not roll while you work.
Step 2: Prepare Bonding Surfaces
Wipe each bottle’s contact point and the corresponding spot on the globe frame with rubbing alcohol. This removes any oil or dust that could weaken the adhesive. Let the alcohol evaporate fully — about 30 seconds — before applying glue. Proper surface preparation is the single most important factor in whether your pill bottle crafts project holds together over time.
Step 3: Glue Bottles in Rings
Start at the globe’s equator, the widest circumference. Apply a generous bead of gel super glue to the side of the first bottle, then press it firmly against the frame. Hold for 30 seconds. Work around the equator, spacing bottles about a finger-width apart. Once that ring is complete and firm, move upward and downward, filling in gaps. Leave an opening at the top for the socket and cord. Pill bottle crafts like this benefit from a dense arrangement — bottles placed too far apart create dark gaps and reduce the sculptural effect.
Step 4: Cure and Test
Let the glued assembly cure for at least two hours. Gently tug each bottle to confirm adhesion. Reglue any that feel loose. Once everything is solid, install the LED bulb, hang the pendant, and test the light. You have now completed the beginner version of this pill bottle crafts project.
Method 2: The Screw Path (Intermediate Pill Bottle Crafts)
Difficulty: Intermediate
Active time: 1.5–2 hours, no drying time needed
Tools needed: Cordless drill, 1/16-inch drill bit, short sheet-metal screws (1/2 inch), screwdriver bit, small washers
The screw method produces a more durable and engineered result. Many makers prefer screws because the bond does not soften in warm rooms. If you are comfortable with a drill, this pill bottle crafts method is worth the extra effort.
Step 1: Mark and Pre-Drill the Globe Frame
Hold each bottle in its planned position and mark the contact point on the frame with a felt-tip pen. Then pre-drill a small pilot hole at each mark. This prevents the metal from deforming and makes screw insertion easier. Work in the same ring pattern described above — equator first, then fill outward.
Step 2: Pre-Drill the Bottles
For each bottle, drill a pilot hole through the cap or the base, where the plastic is thicker and less likely to crack. Use a low drill speed to avoid cracking the plastic. A piece of painter’s tape over the drill point can reduce the chance of the bit slipping on the smooth surface. Careful drilling is what separates clean pill bottle crafts from messy ones.
Step 3: Attach with Screws
Hold each bottle against the frame so its drilled hole lines up with the frame pilot hole, and fasten it through the frame hole with a short screw, using a small washer to spread the load. The washer should sit against the inside of the frame, and the threaded end should bite into the bottle plastic. Do not over-tighten — stop as soon as the bottle feels snug. Over-tightening can crack the bottle wall, which is the most common mistake in screw-method pill bottle crafts.
Step 4: Final Assembly
Once all bottles are attached, thread the pendant cord through the top opening, wire the socket following the cord kit manufacturer’s instructions, and install the LED bulb. Hang the pendant from its ceiling hook or canopy. The screw method produces pill bottle crafts that can handle bumps and vibration without any bottles dropping off.
Crafts with Pill Bottles: Common Mistakes to Avoid
This section covers the errors that most often ruin the finished product. Avoiding them will save you time, materials, and frustration with your pill bottle crafts.
- Using non-LED bulbs. Incandescent and halogen bulbs run hot enough to warp or melt plastic. LED bulbs run much cooler, but check that the bulb is rated for enclosed fixtures and keep bottles from touching the bulb. Always use an LED for pill bottle crafts.
- Spacing bottles too far apart. Large gaps between bottles let too much bare frame show through and reduce the orb effect. Aim for no more than a finger-width gap. Denser coverage creates a richer texture and better light diffusion in pill bottle crafts.
- Using opaque paint that kills the glow. If you want color, choose translucent finishes like frosted glass spray or metallic sheens that still allow light through. Fully opaque paint turns your lamp into a dark blob instead of a glowing sculpture.
- Skipping label removal. Leftover adhesive residue attracts dust and makes paint adhere unevenly. It also looks sloppy. Take the extra ten minutes to clean every bottle thoroughly.
- Ignoring weight distribution. If you cluster all the large bottles on one side, the pendant will hang lopsided. Distribute sizes evenly around the globe for balanced pill bottle crafts.
Design Variations for Upcycled Pill Bottle Crafts
The basic globe pendant is just one expression of this concept. Here are several ways to customize your pill bottle crafts to match your space and style.
Spray-Paint Finishes That Preserve Translucency
Rust-Oleum Frosted Glass spray paint or a metallic spray paint labeled safe for plastic can change the lamp’s color while preserving its translucent glow. Light coats are essential — two thin passes produce better results than one heavy coat. Metallic copper and brass finishes lend an industrial feel. Frosted white creates a softer, more diffused light. For pill bottle crafts destined for a kid’s room, consider translucent neon or pastel spray paints.
Color Options Beyond Standard Orange
If you dislike the classic amber color of prescription bottles, you have several options. You can also tint bottles with transparent glass paint, or mix in clear or colored plastic bottles from vitamins and supplements. Mixing bottle colors within a single globe adds another layer of visual interest to your pill bottle crafts.
Adapting to a Table Lamp Shade
According to Hunker, the same upcycling technique can be adapted to create a lampshade rather than a pendant globe. Purchase a wire lampshade frame from a craft store (roughly $8–$15), attach bottles using either method described above, and place it over an existing table lamp base. This variation works well for renters who cannot install ceiling fixtures. Pill bottle crafts are versatile enough to fit almost any lamp format.
Upcycle Old Pill Bottles into a Cluster Pendant
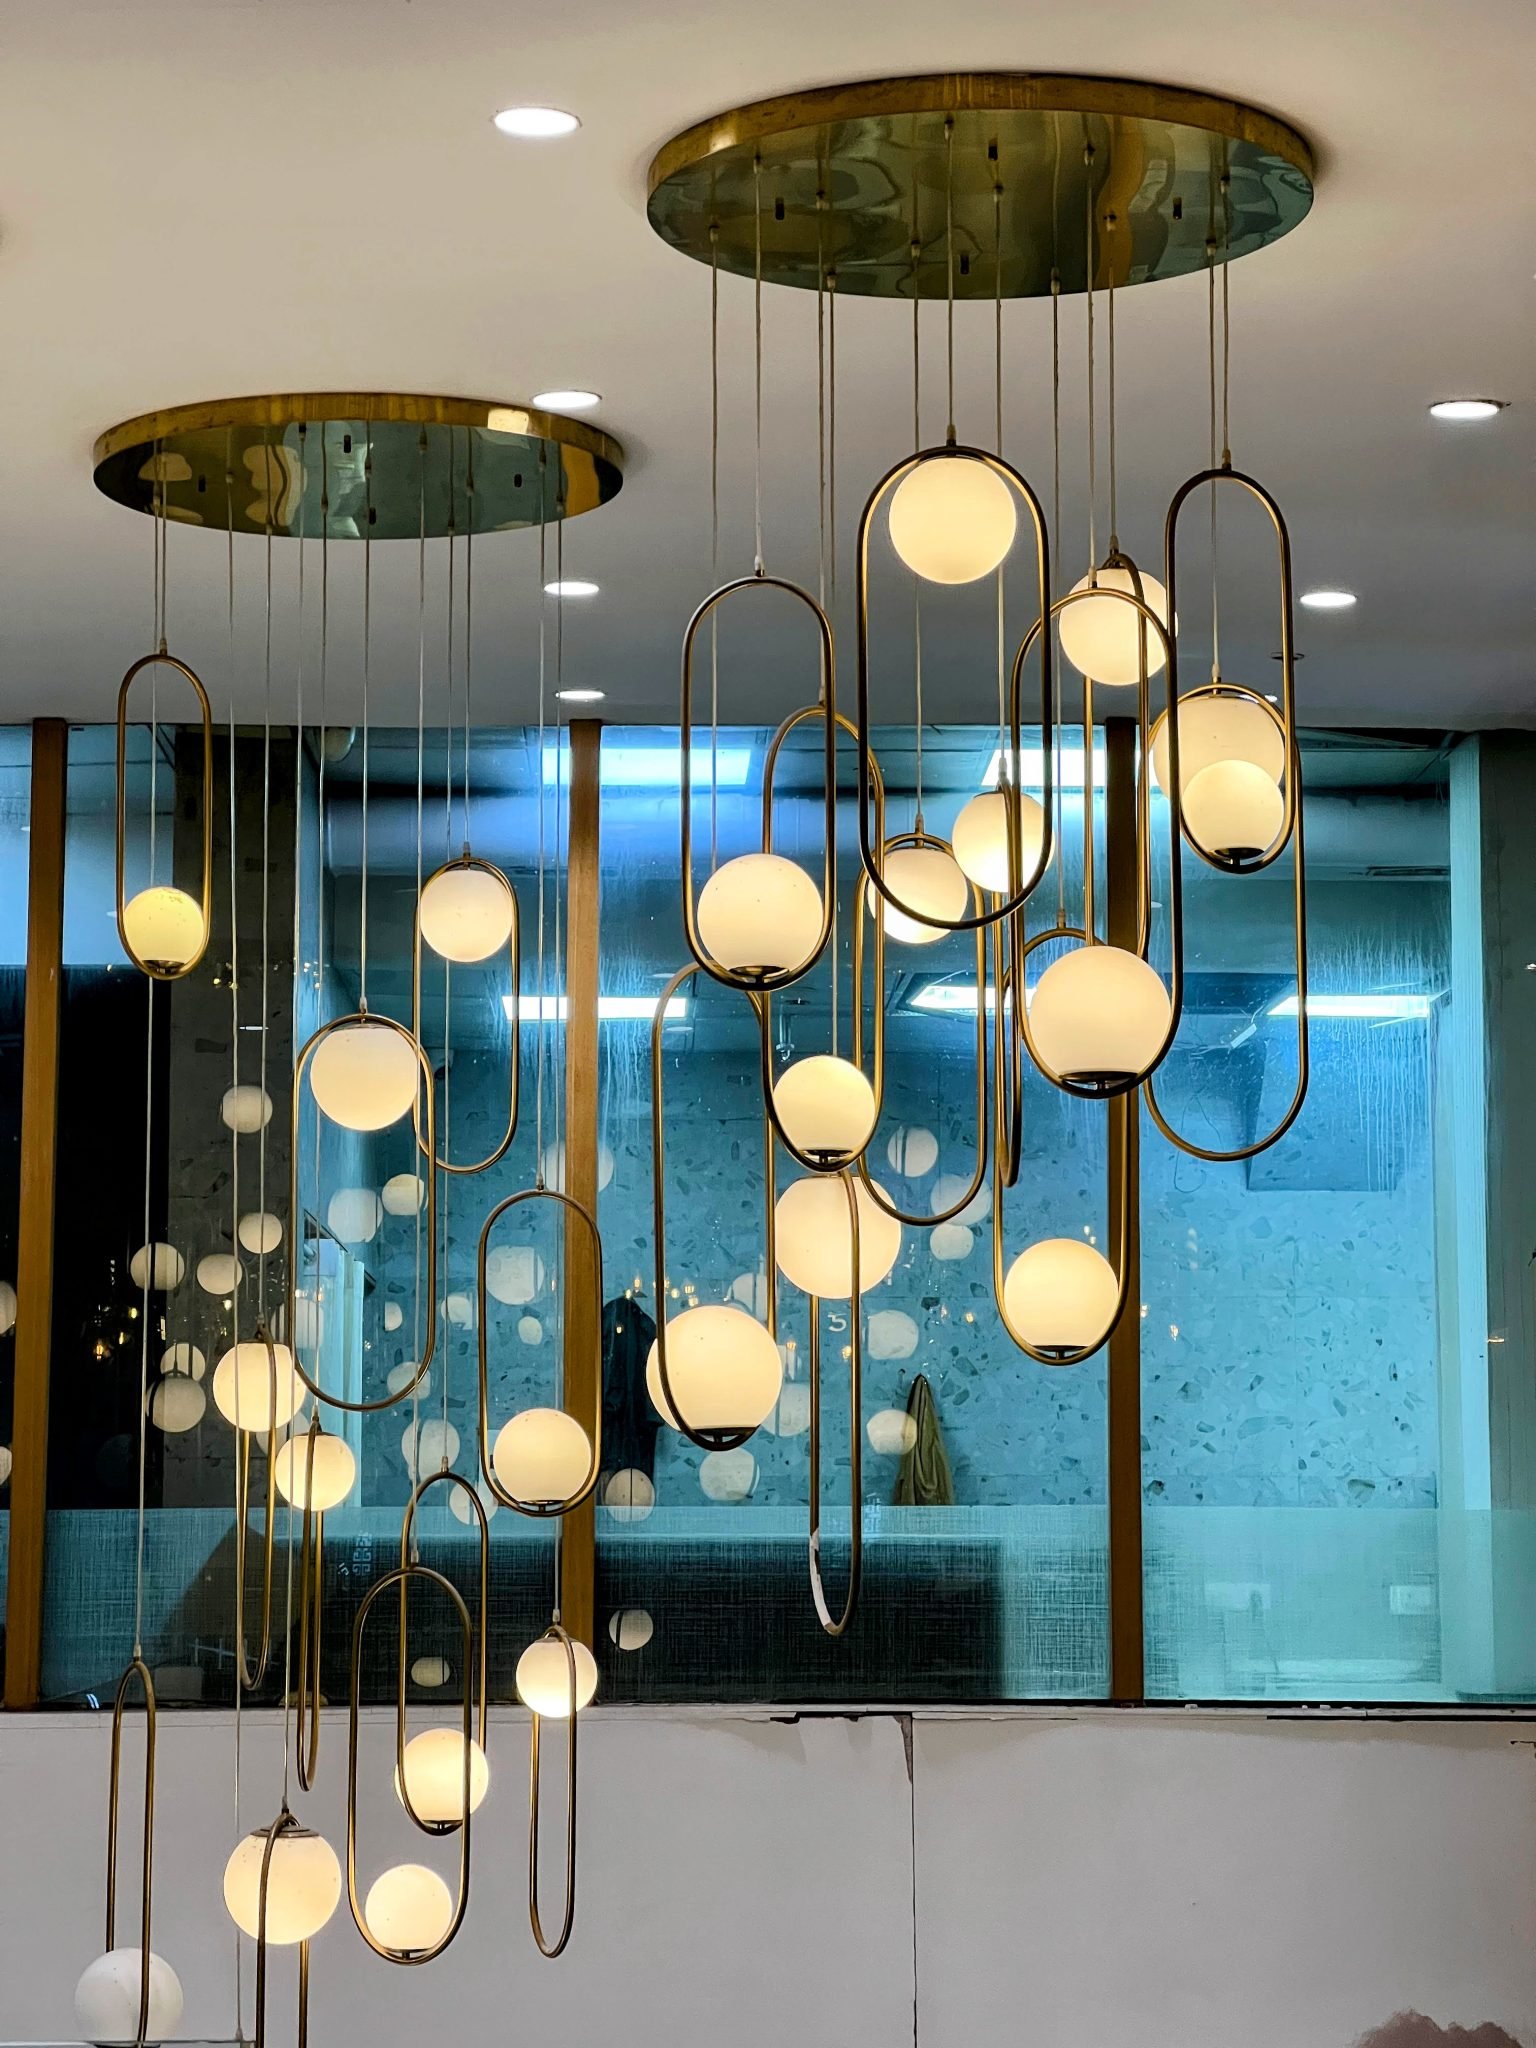
Instead of covering a single globe, you can upcycle old pill bottles by hanging them individually around a UL-listed multi-light fixture. Drill a small hole in each bottle cap, thread fishing line or thin cord through it, and hang bottles at staggered heights around — not on — the fixture, keeping them clear of the bulbs. This creates a rain-like cascade effect that works beautifully over a dining table or in an entryway. Hire an electrician for any ceiling wiring involved in this variation.
DIY Globe Pendant Light: Room Placement and Style Tips
Where you hang or place your DIY globe pendant light matters as much as how you build it. A prescription bottle lamp is an undeniably bold piece, so placement should be intentional.
In a living room, hang the pendant in a corner reading nook or above a side table where it serves as an accent rather than the primary light source. The textured glow works best as ambient or mood lighting, not task lighting. In a home office, position it where it catches peripheral vision — it becomes a background art piece that sparks conversation during video calls without distracting from work.
For bedroom use, the warm amber glow of unpainted prescription bottles creates a surprisingly cozy atmosphere. Pair it with a warm-white LED (2700K color temperature) for the softest effect. Pill bottle crafts in a bedroom setting look best when painted in matte white or soft gold.
In maximalist or eclectic rooms, the raw, unpainted orange bottles can be a strength — they read as intentionally funky and artistic. In more minimal spaces, a uniform frosted or metallic finish makes the texture subtle enough that it blends with clean lines. This DIY light pendant idea adapts to both ends of the design spectrum with the right finish.
How to Make Your Own Pendant Light: Wiring and Safety
If you want to know how to make your own pendant light safely, start with a UL-listed pendant cord kit. These kits include a pre-wired socket, cord, strain relief, and ceiling canopy. For most pill bottle crafts projects, you will simply thread the cord through the top of the globe, wire the socket following the kit manufacturer’s instructions, and hang the canopy from your ceiling box.
If your home has an existing ceiling junction box with a switched circuit, you can wire the pendant directly. However, if you are not experienced with electrical work, hire a licensed electrician to make the final ceiling connection. Costs vary by region, so get a local quote. A plug-in pendant cord kit with a wall switch is the safest DIY alternative — it plugs into a standard outlet and requires no hardwiring at all. This is the recommended approach for renters and for anyone doing pill bottle crafts for the first time.
Weigh the finished globe on a kitchen scale and compare it with the weight rating printed on your ceiling hook or canopy; do not hang it if it is close to or over the limit. Keep the bulb at least an inch or two from any bottle, and never use a bulb with a higher wattage than the socket rating.
Crafts with Old Pill Bottles: Maintenance and Longevity
Once your crafts with old pill bottles project is hanging and glowing, a small amount of ongoing care will keep it looking good for years.
- Cleaning: Dust the bottle exteriors every few weeks with a microfiber cloth or a can of compressed air. For deeper cleaning, lightly dampen the cloth with a vinegar-water solution. Avoid soaking — excess moisture can weaken super glue bonds over time.
- Checking adhesive: If you used the glue method, inspect bonds every six months by gently pressing on each bottle. Reglue any that feel loose. Heat and humidity can degrade super glue, especially in kitchens or bathrooms. Pill bottle crafts built with screws rarely need this maintenance.
- Swapping bulbs: Turn off the fixture, let the existing bulb cool (LED bulbs stay relatively cool, but give them a minute), and carefully reach through the bottle gaps to unscrew the old bulb and install the new one. If your bottle arrangement is too dense to reach through, you may need to temporarily remove the globe from its canopy and work from the open top.
- Touch-up paint: Spray-painted finishes can chip or fade with UV exposure. Keep leftover spray paint for touch-ups. A light re-coat every year or two keeps the finish fresh on crafts with empty pill bottles.
Crafts with Empty Pill Bottles: Cost Comparison Table
Below is a comparison of the two build methods and the table lamp variation so you can choose the right pill bottle crafts path for your skill level and budget.
| Feature | Glue Method | Screw Method | Table Lamp Shade |
|---|---|---|---|
| Difficulty | Beginner | Intermediate | Beginner |
| Active Build Time | 1–1.5 hours | 1.5–2 hours | 45 min–1 hour |
| Drying/Cure Time | 2–4 hours | None | 2–4 hours (if glued) |
| Tools Required | None (just glue) | Drill, screwdriver | None or drill |
| Estimated Cost | $25–$50 | $30–$60 | $15–$35 |
| Durability | Moderate | High | Moderate to High |
| Best For | Renters, quick projects | Permanent installations | No ceiling access |
All three approaches qualify as pill bottle crafts that genuinely upcycle waste into functional home décor. Your choice depends on whether you want a pendant or table lamp, whether you own a drill, and how permanent you want the build to be.
Real-Life Example: From Clutter to Conversation Piece
Here is an illustrative example (not a real case): Picture Sarah, a renter in a small studio apartment who accumulated more than 40 empty prescription bottles in a shoebox under her bathroom sink over two years. She considered recycling them, but her local program would not accept them. She considered throwing them away, but the volume of plastic waste bothered her.
After discovering pill bottle crafts online, she bought a $20 open-frame globe pendant and a plug-in cord kit for $14. She chose the glue method because she did not own a drill. She spray-painted each bottle with a single coat of Rust-Oleum Frosted Glass in a “sea glass” blue-green and let the paint dry fully per the can label before moving on.
Then she spent about an hour on a Saturday afternoon gluing the painted bottles in rings around the globe and let the whole assembly cure overnight. The next morning she hung it in her reading corner and screwed in a warm-white LED bulb.
The result was a textured, glowing orb that looked like a piece from a boutique lighting shop. The entire project cost her under $45 and solved her bottle-hoarding problem in one afternoon. The lesson: pill bottle crafts can turn a genuine annoyance into something beautiful with minimal skill, time, and money.
Frequently Asked Questions
How to Make Your Own Pendant Light from Pill Bottles?
Start with a wire globe pendant frame and 20–40 clean, label-free prescription bottles. Attach bottles using either super glue (beginner) or short screws with a drill (intermediate). Work in rings starting at the globe’s equator. Use only an LED bulb, which stays cool enough for plastic. Hang using a pendant cord kit. Total active build time is one to two hours, and pill bottle crafts like this cost under $50 in most cases.
Can You Upcycle Old Pill Bottles Without a Drill?
Yes. The glue method requires no power tools at all. Gel-formula super glue creates a strong bond between prescription bottle plastic and metal or wire frames. The key is proper surface preparation — wipe both surfaces with rubbing alcohol before applying glue. Allow two to four hours of cure time. Many pill bottle crafts are designed specifically for tool-free execution.
Are Pill Bottle Crafts Safe with Regular Light Bulbs?
No. Incandescent and halogen bulbs run hot enough to warp or melt plastic. LED bulbs are the only safe option for pill bottle crafts because they run much cooler. Check that the bulb is rated for enclosed fixtures and keep bottles from touching the bulb. Always use LED bulbs for any project involving plastic near a light source.
What Is the Best Spray Paint for Pill Bottle Crafts?
Translucent or semi-transparent spray paints work best because they allow light to pass through the bottles. Rust-Oleum Frosted Glass and metallic spray paints labeled safe for plastic are commonly recommended options that change the lamp’s color while preserving its glow. Apply in two thin coats rather than one heavy coat. Fully opaque paint blocks light and defeats the purpose of pill bottle crafts designed as light fixtures.
How Many Pill Bottles Do You Need for This Project?
Plan on 20 to 40 bottles depending on the size of your globe frame and how densely you want to cover it. A 12-inch globe typically needs 25–35 bottles. Mixing sizes — standard prescription bottles alongside smaller vitamin or supplement bottles — creates the most visually interesting result. Start collecting bottles a few months before you begin your pill bottle crafts project to ensure you have enough.
Sources
This project was inspired by Hunker’s feature on turning old prescription bottles into an eye-catching lamp. Drug disposal guidance references the DEA’s National Prescription Drug Take-Back program. For more DIY projects and creative home ideas, explore our other guides.