
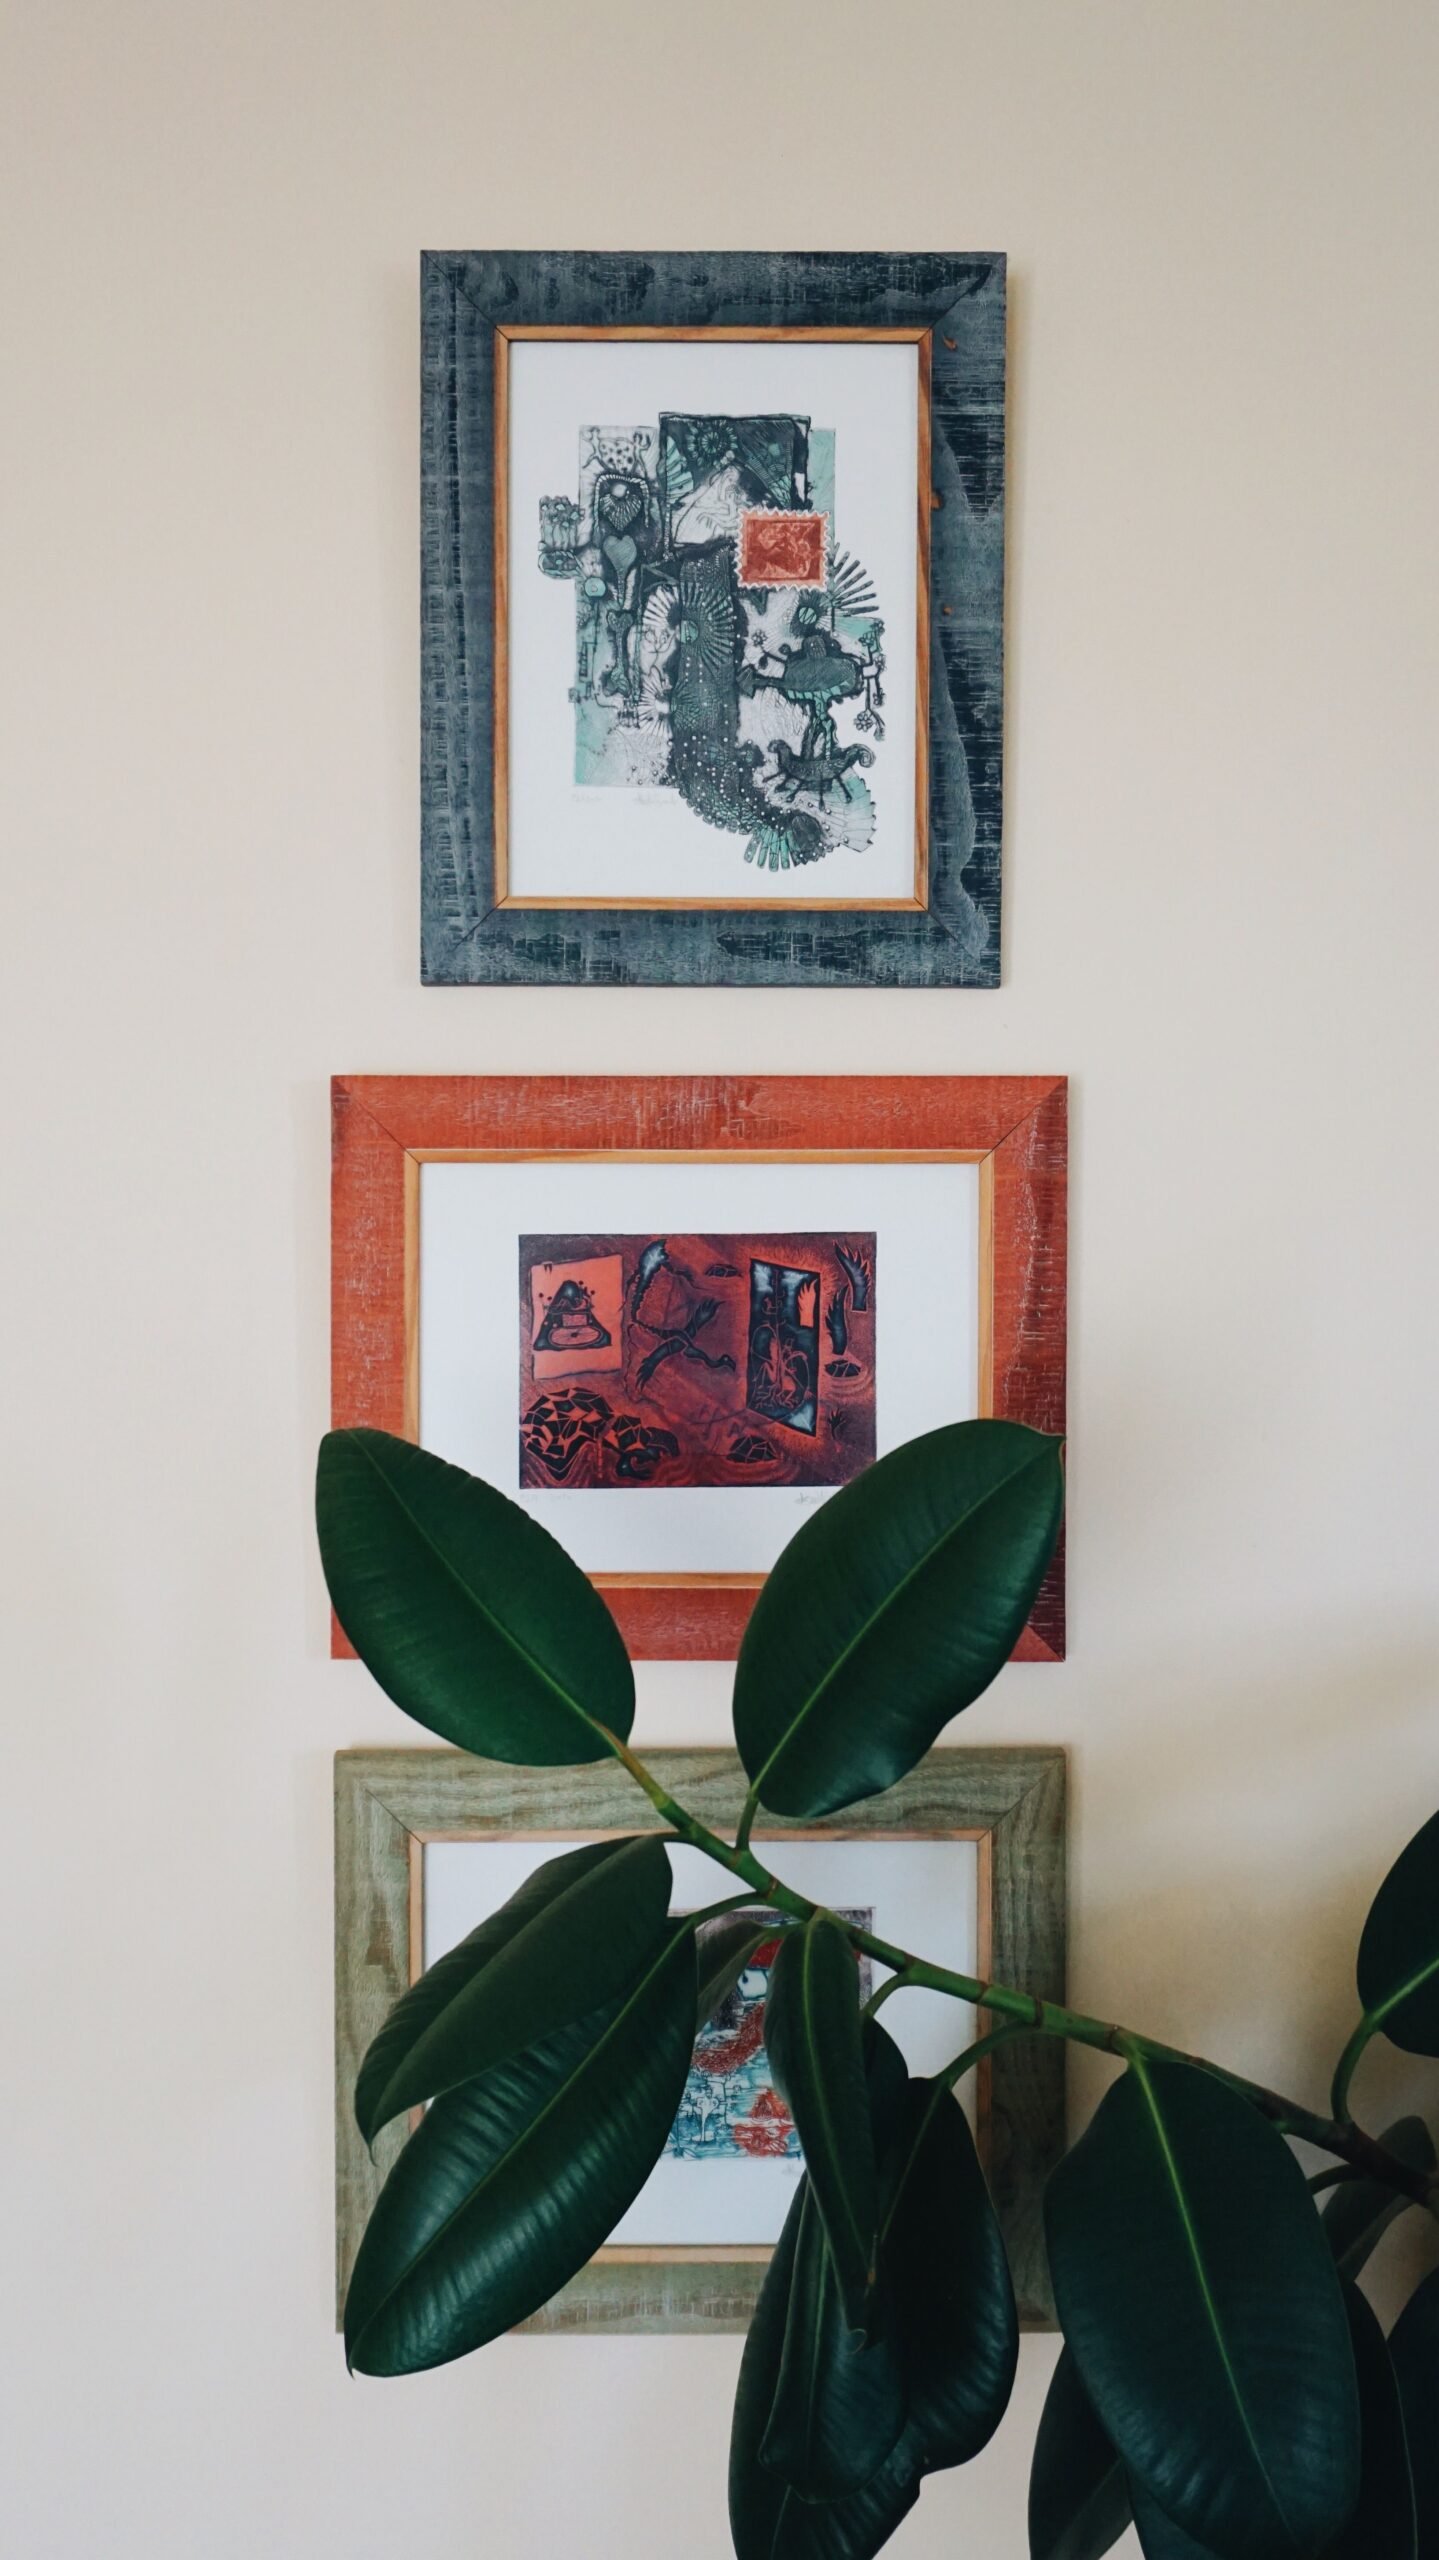
A gallery wall can feel like the most intimidating project in a house, but it’s really just a grid with a few consistent rules. Knowing how to style a gallery wall means planning the layout on paper before a single nail goes into the wall.
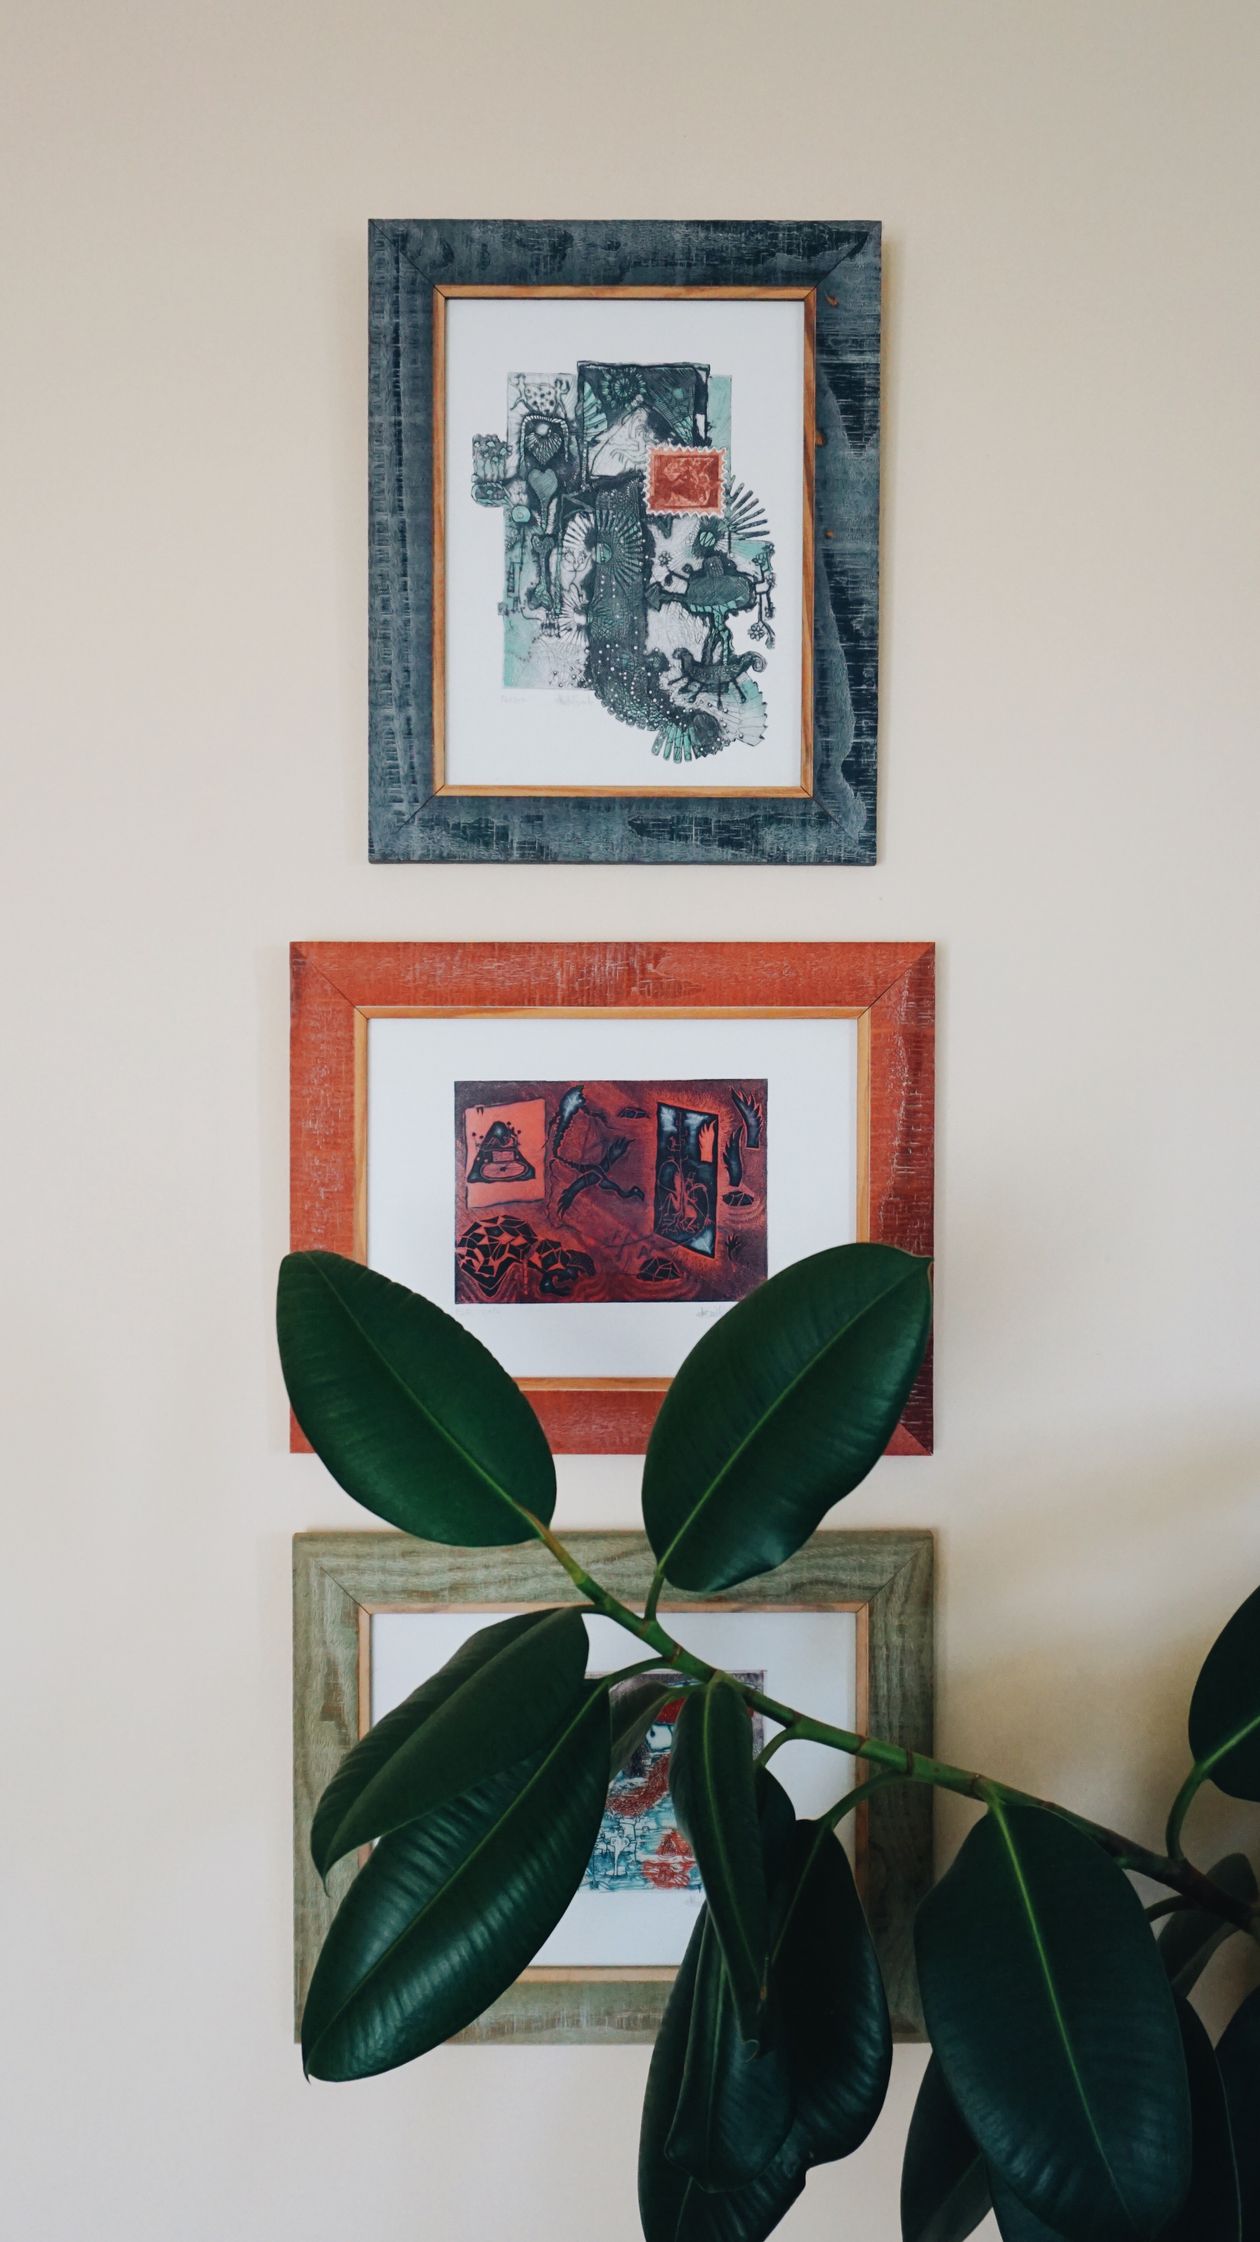
Getting how to style a gallery wall right takes only a few minutes once you know the pattern to repeat, and it makes a bigger difference than most people expect.
Why Planning Beats Hanging as You Go
Gallery walls that go wrong almost always skipped the planning step. A quick paper template or floor layout lets you see spacing and balance before committing to holes in the wall, which saves both patchwork and frustration later.
How to Style a Gallery Wall by Season
| Season | Easy Swap | Quick Tip |
|---|---|---|
| Spring | Swap in botanical prints or lighter-toned art | Add one small framed pressed flower or leaf |
| Summer | Photography or travel prints | Keep frame colors light — white, natural wood |
| Fall | Warmer-toned prints, a mix of textures | Add one small mirror to break up flat frames |
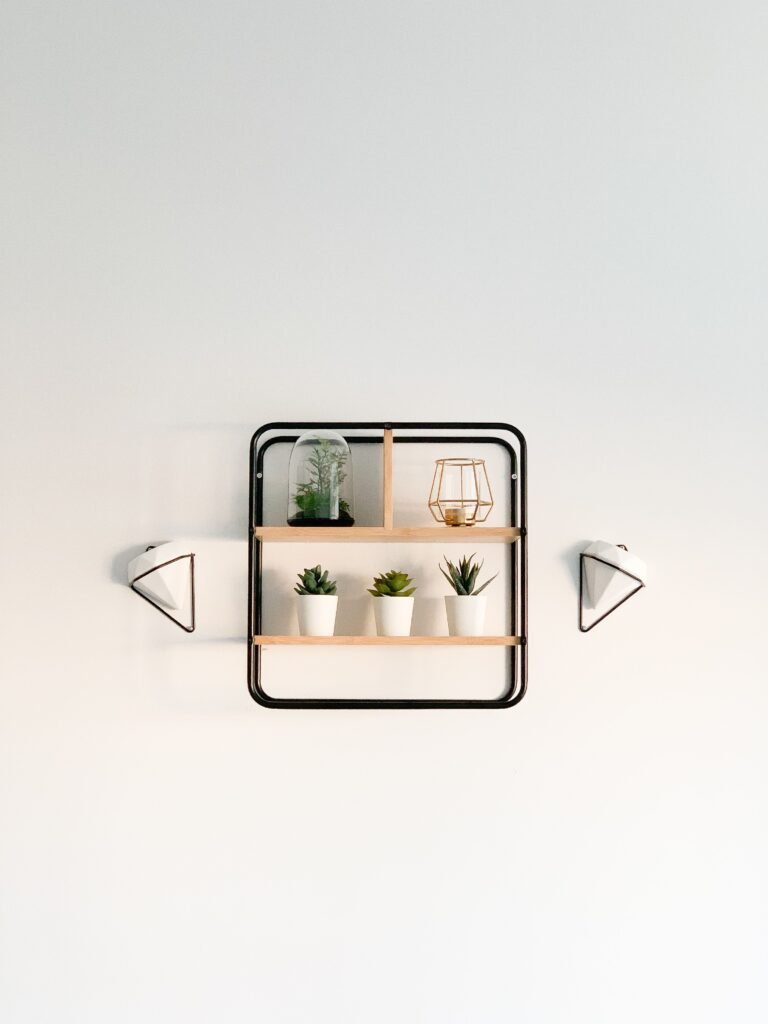
| Winter | Deeper colors, a favorite family photo | Layer in a small shelf to hold seasonal objects |
pair it with a console table styled underneath
How to Plan a Gallery Wall
Trace and Tape a Layout First
Trace each frame on kraft paper, cut it out, and tape the templates to the wall to test spacing before hanging anything.
Keep Spacing Consistent
Leave two to three inches between frames throughout the arrangement — consistent spacing reads as intentional even with mismatched frame sizes.
Anchor with One Larger Piece
A single larger frame or mirror gives the eye a resting point among several smaller pieces.
Common Gallery Wall Mistakes to Avoid
- Hanging too high: The center of a gallery wall should sit at roughly eye level, around 57–60 inches from the floor, not near the ceiling.
- Using only one frame size and color: A mix of two or three frame finishes (wood, black, brass) tends to look more collected than an exact matching set.
- Skipping the paper template step: Committing to nail holes without testing the layout first is the most common source of a lopsided gallery wall.
- Overcrowding without any negative space: Leave a little breathing room at the edges of the grouping rather than filling wall to wall.
For more inspiration, see Better Homes & Gardens’ gallery wall layout guide.
Still not sure where to start with how to style a gallery wall? Pick just one small change from the ideas above — that’s really all a good puttering session takes.
FAQ
How high should a gallery wall be hung?
Center the overall arrangement at roughly eye level, about 57 to 60 inches from the floor to the middle of the grouping.
How much space should be between frames?
Two to three inches is a reliable standard that keeps the grouping feeling cohesive rather than scattered.
Do all the frames need to match?
No — a mix of two or three coordinating finishes usually looks more intentional than an exact match.
What’s the easiest gallery wall layout for beginners?
A grid layout with same-size frames in even rows is the most forgiving starting point before moving to an eclectic mix.
Can I update a gallery wall seasonally without rehanging?
Yes — swap the art inside a few of the frames rather than moving the frames themselves.
Wrap-Up
The short version of how to style a gallery wall: trace and tape a paper layout first, keep spacing consistent, and anchor the grouping with one larger piece.
Looking for another easy refresh? and a coffee table tray refresh nearby next.



2 thoughts on “The Best Way to Style Gallery Walls for a Stunning Refresh”