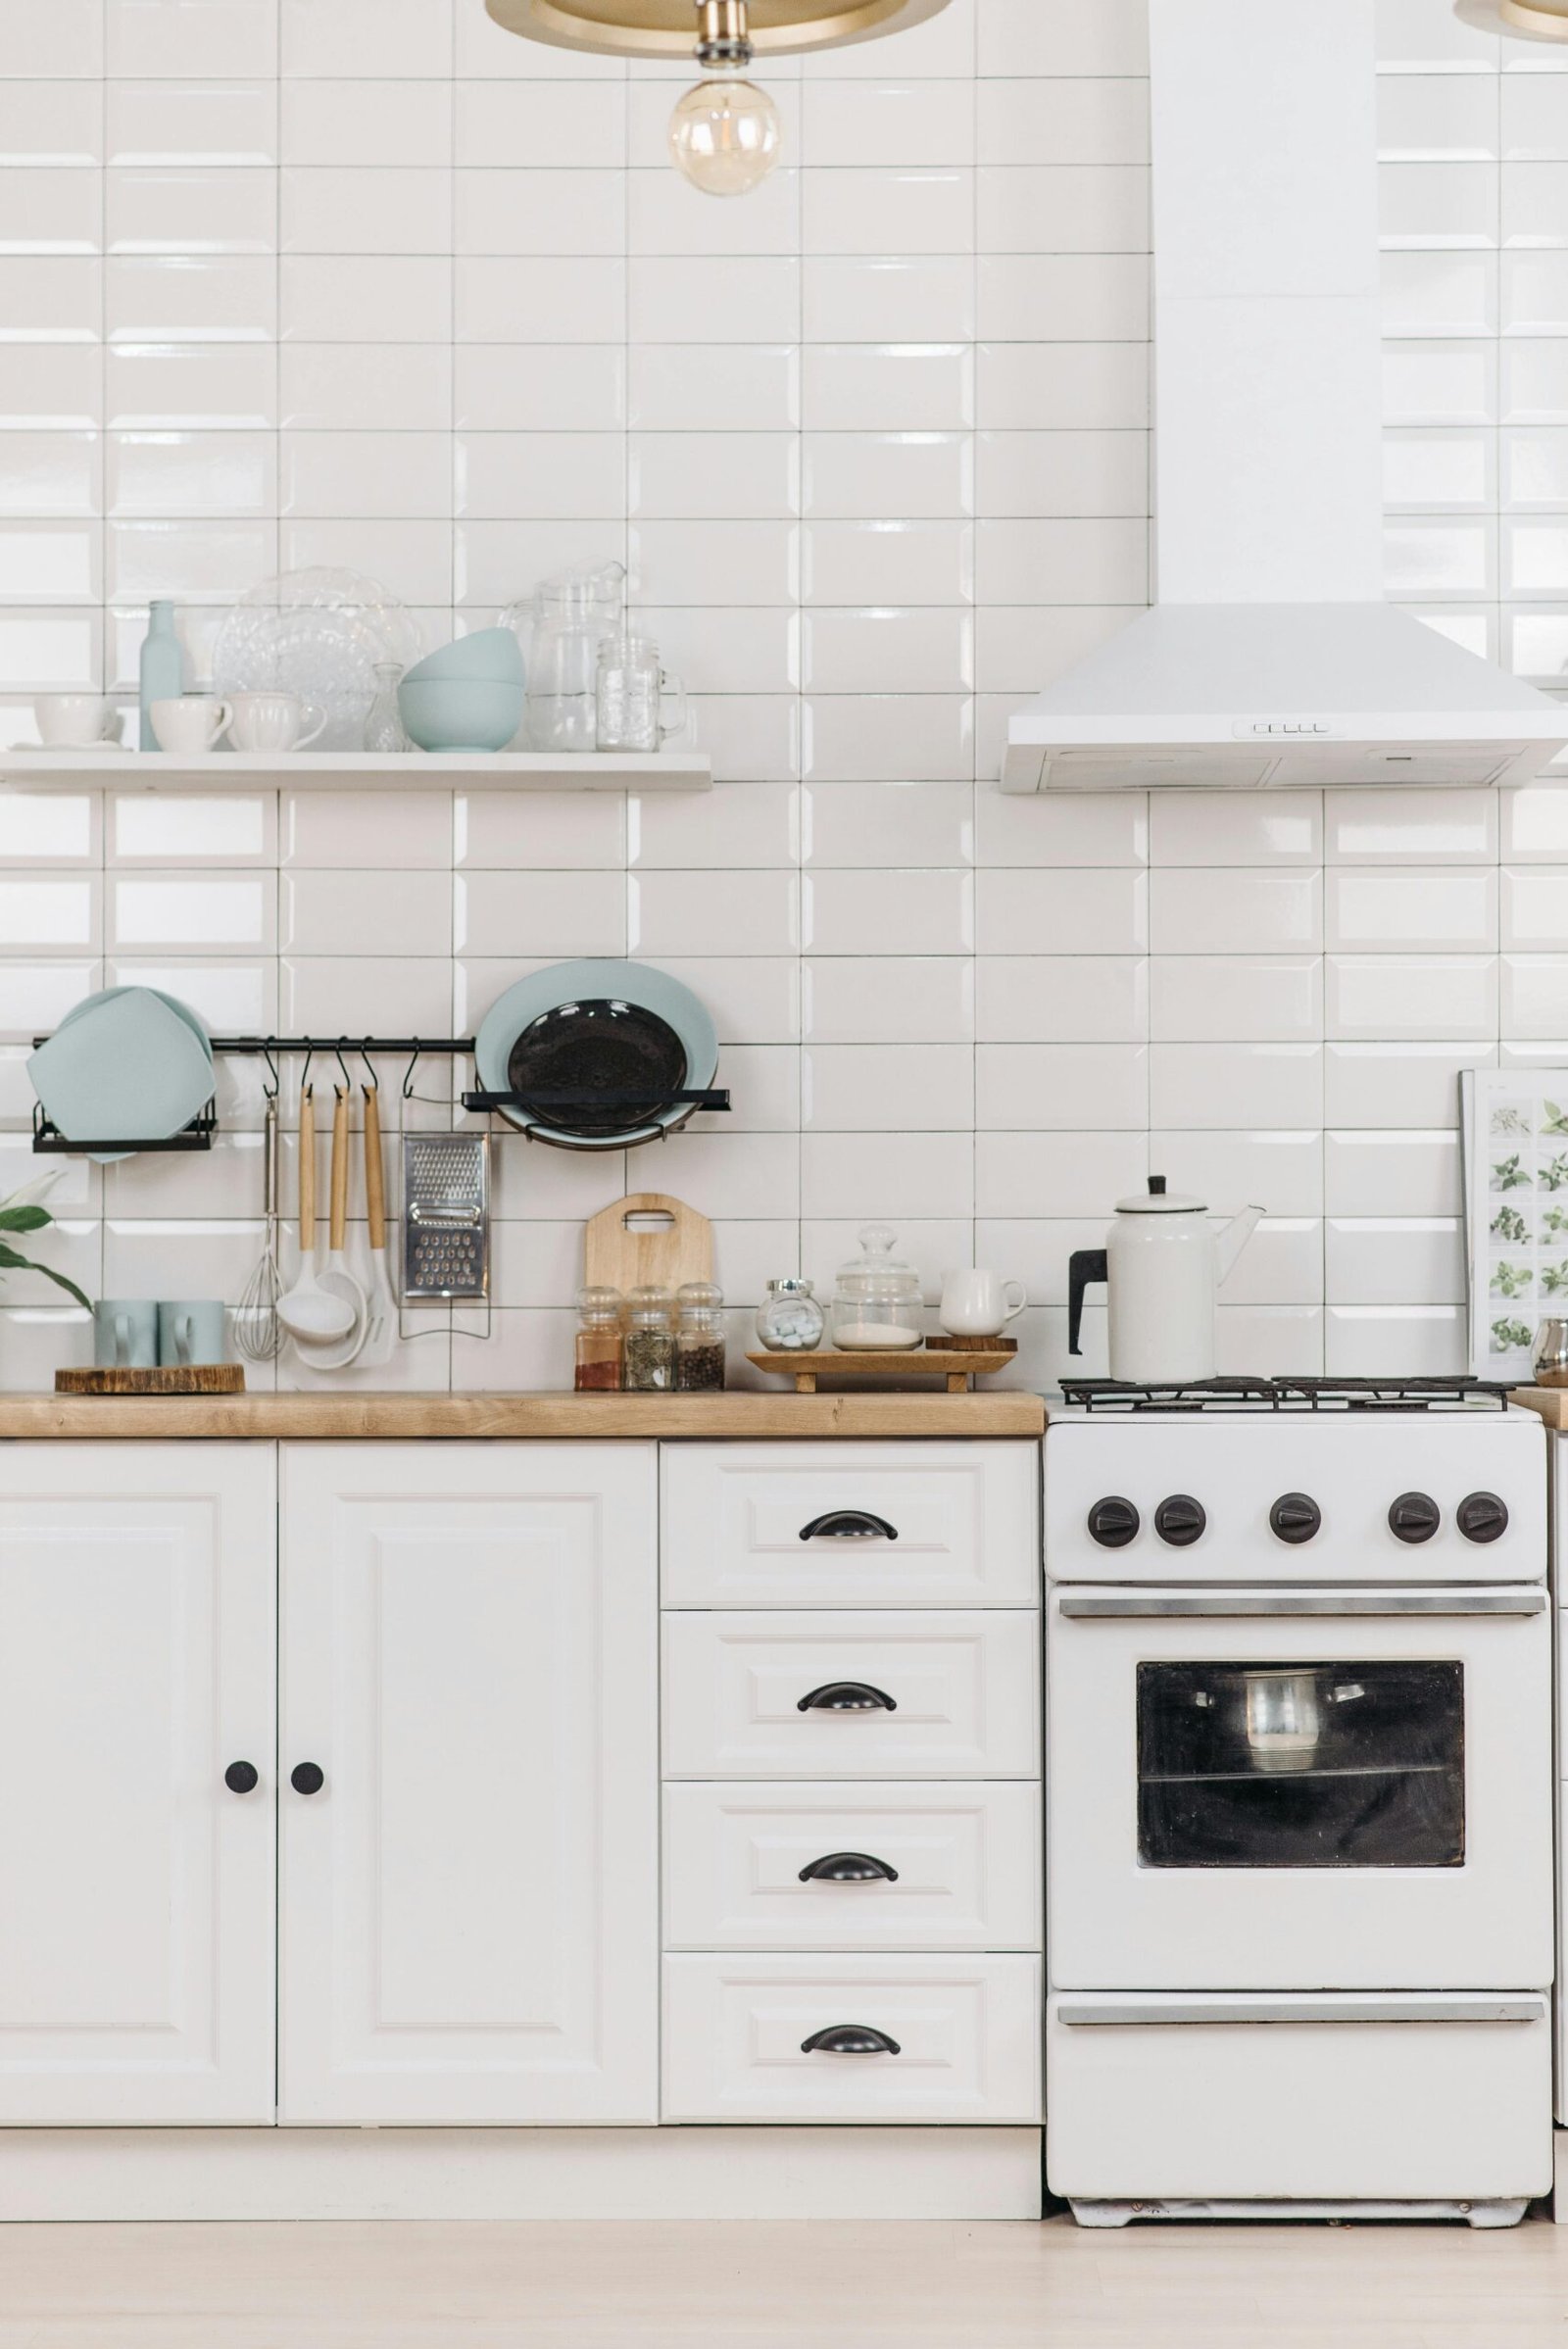
A budget bathroom makeover works best when you keep the expensive, hard-to-move parts (tub, countertop, plumbing) and change what the eye notices first: the vanity color, walls, mirror, lighting, hardware and floor. Done in a sensible order, that combination can cost roughly $400 to $1,000 and make a 1990s bathroom look recently renovated.
This guide turns one family’s well-documented update into a plan you can repeat. You will find a line-item budget, a paint color guide based on countertop undertones, step-by-step instructions for painting an oak vanity and laying peel-and-stick tile, and the mistakes that most often ruin an otherwise good budget bathroom makeover.
Budget Bathroom Makeover Basics: What to Keep and What to Change
The smartest budget bathroom makeover starts with an honest sort. Anything that is sound, clean and not actively ugly can stay. Anything cheap to replace and highly visible should go.
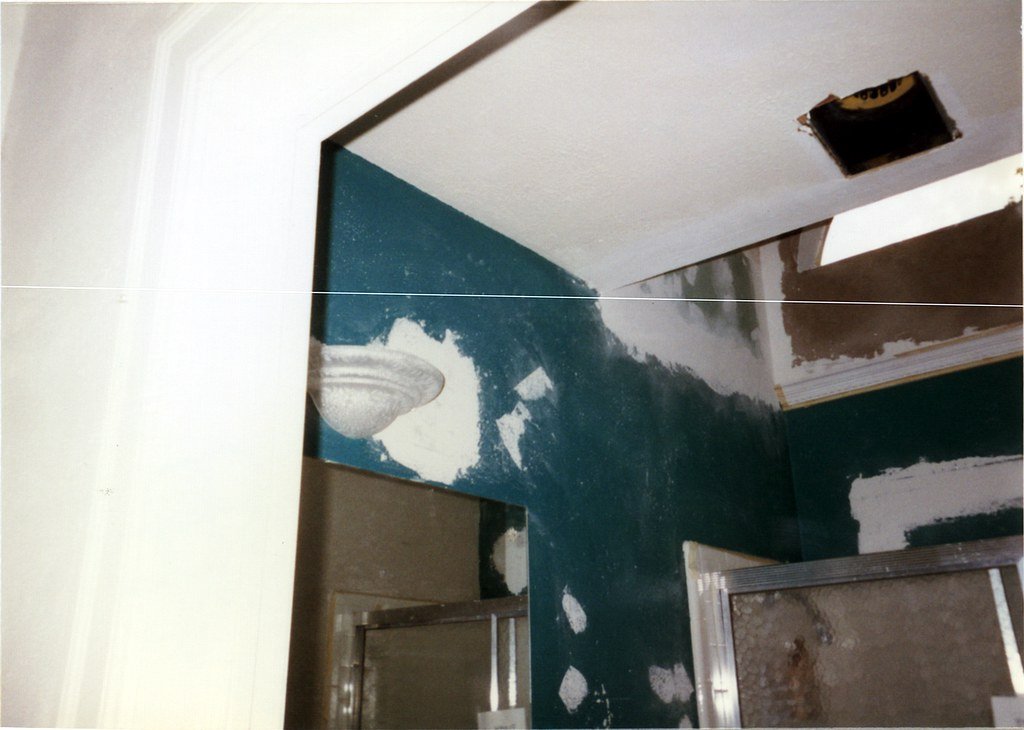
Keep these in your budget bathroom makeover if they are in good shape
- Tub or shower surround: replacing it is the single biggest cost in a remodel, so clean and re-caulk it instead.
- Countertop and sink: neutral beige, white, speckled granite and cultured marble can all be made to look intentional with the right surrounding colors.
- Plumbing fixtures and layout: moving drains and supply lines is where budgets disappear.
- Cabinet boxes: solid oak cabinets are usually well built and take paint very well.
Every budget bathroom makeover benefits from a written keep-and-change list before you buy a single can of paint.
Change these first for the biggest visual payoff
- Oak cabinet color and hardware
- Wall and trim color
- Large sheet mirror and builder-grade light bar
- Worn or dark flooring
- Yellowed caulk and tired baseboards
If you want more room-by-room ideas for your budget bathroom makeover while you plan, browse our bathroom category for related projects.
Real-Life Example: A 1991 Kids’ Bathroom Under $1,000
This real-life budget bathroom makeover, according to Homedit, belonged to homeowner Ericka Gularte, who had a 1991 kids’ bathroom with oak cabinets, a long sheet mirror, paneling and dark brown faux wood plank flooring. A full gut remodel was not in the plan, so the tub and countertop stayed.
The vanity was painted a gray-brown (Farrow & Ball Mouse’s Back), the walls and paneling went white (Dunn-Edwards Cool December) and the trim a soft gray (Whisper Gray). New brass pulls, mirrored medicine cabinets and a pair of gold sconces, reported at $36 for both, replaced the dated fixtures. Gray and white marble-look peel-and-stick tiles were laid in a checkerboard right over the brown planks.
The total for this budget bathroom makeover came to just under $1,000, and visitors reportedly asked whether the countertops had been replaced. The lesson: when the surrounding colors and finishes are right, old surfaces stop reading as dated. Your budget bathroom makeover does not have to hide the countertop; it just has to stop competing with it.
Check Moisture First Before Your Budget Bathroom Makeover
Paint and tile cannot fix a wet problem. Before spending anything on your budget bathroom makeover, spend ten minutes inspecting the room, because new finishes over damage only hide it for a few months.
Quick inspection checklist for a budget bathroom makeover
- Press a screwdriver tip gently into the bottom of the vanity sides and the floor beside the toilet. Soft or crumbly wood means water damage.
- Look under the sink for drip stains, swollen particleboard or a musty smell.
- Check the caulk line at the tub and the base of the toilet for black spotting or gaps.
- Run the exhaust fan and hold a tissue to it. If it barely sticks, airflow is weak.
When to pause or call a professional
Do not paint over active leaks, soft framing or widespread mold. A budget bathroom makeover should never cover active damage, so fix the source first. For ongoing humidity, the CDC advises exhaust fans that vent outside, indoor humidity no higher than 50% and quick leak repairs, as Homedit also notes. The EPA’s mold resources explain cleanup limits and when to hire a remediation professional. If the home predates 1978, test old paint for lead before sanding; the EPA’s lead information covers safe practices.
Budget Bathroom Makeover Cost: Line-Item Budget With US Prices
Prices vary by region and brand, so treat these as rough planning ranges for a small bathroom of about 35 to 50 square feet. A budget bathroom makeover stays low mostly because you supply the labor.
| Item | Basic | Mid | Upscale |
|---|---|---|---|
| Degreaser, sandpaper, tape, drop cloths | $25-$40 | $30-$50 | $40-$60 |
| Bonding primer (quart) | $20-$30 | $25-$40 | $35-$55 |
| Cabinet-grade paint (quart) | $25-$40 | $40-$60 | $60-$110 |
| Wall and trim paint (1-2 gallons) | $30-$60 | $50-$100 | $80-$150 |
| Cabinet pulls or knobs (4-8 pieces) | $15-$35 | $40-$80 | $80-$160 |
| Medicine cabinet or framed mirror | $40-$80 | $100-$200 | $200-$400 |
| Sconces or vanity light | $30-$60 | $70-$150 | $150-$300 |
| Peel-and-stick tile (40-50 sq ft) | $50-$100 | $100-$170 | $170-$250 |
| Baseboard or quarter round | $15-$30 | $30-$60 | $60-$100 |
| Caulk, sealant, floor primer | $15-$25 | $20-$35 | $30-$50 |
| Approximate total | $265-$500 | $505-$945 | $905-$1,635 |
Add roughly $30 to $120 if your exhaust fan needs replacing, and budget a small cushion of 10% for surprises such as extra tile or a second coat of primer. The real-life budget bathroom makeover landed just under $1,000, which fits the mid column.
7 Stunning Upgrades for a Budget Bathroom Makeover
Each upgrade in this budget bathroom makeover includes time and difficulty so you can judge what to tackle yourself. Most are beginner to intermediate work with basic tools.
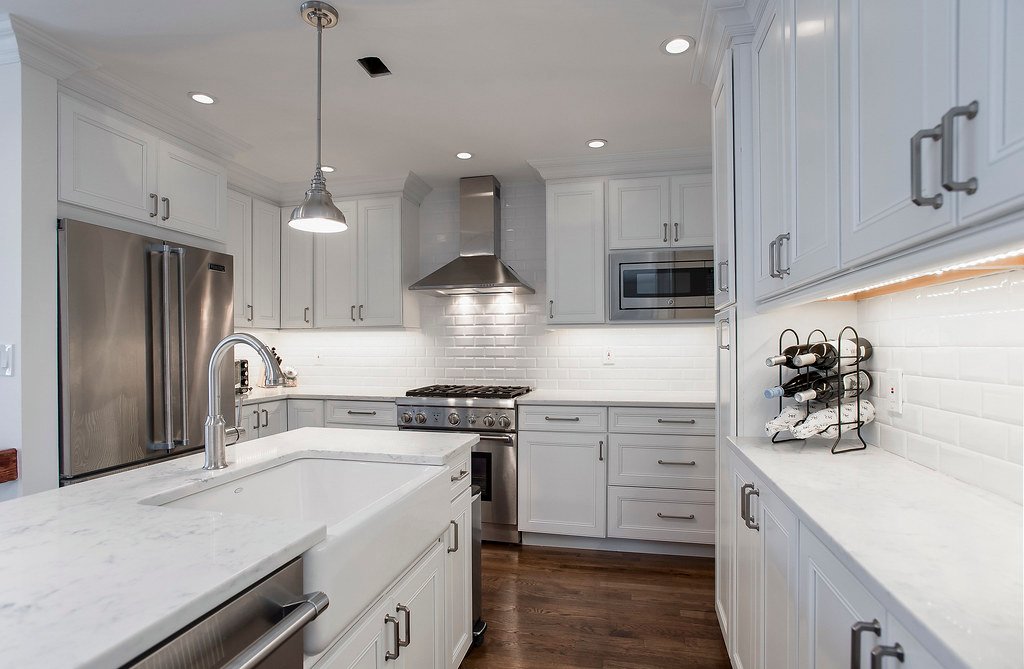
1. Painting Oak Bathroom Vanity: How to Paint Oak Bathroom Cabinets
Time: 2 to 3 days including cure breaks. Difficulty: moderate. Yes, you can paint oak bathroom cabinets, and a painting oak bathroom vanity project is the highest-impact step in a budget bathroom makeover. The challenge is oak’s open grain and the humid room, so prep matters more than the paint brand.
- Empty and label. Remove doors, drawers and hardware. Number each door and hinge location with painter’s tape.
- Degrease. Bathroom cabinets collect hair product and soap film. Scrub with a degreasing cleaner, rinse with a damp cloth and let dry fully.
- Sand lightly. Use 120 to 180 grit to dull the old finish. You are scuffing, not stripping. Wipe away dust with a tack cloth.
- Fill the grain if you want a smooth look. Oak grain will show through paint as texture. For a sleek finish, apply a grain filler or thin wood filler with a putty knife, let it dry, then sand flat. For a more casual look, leave the grain.
- Prime with a bonding primer. Use a stain-blocking, adhesion-promoting primer, since oak tannins can bleed through. Two thin coats beat one thick one.
- Paint with cabinet-grade enamel. Apply two thin coats with a quality angled brush and a small foam or microfiber roller, sanding very lightly with fine paper between coats.
- Cure before use. Paint can feel dry in hours but stays soft for days or weeks. Wait the time on the can before reinstalling doors, and avoid heavy cleaning for about a month.
This is the same method used in most how to paint oak bathroom cabinets guides: degrease, scuff, prime, then two thin coats. Skipping any step is what makes paint peel at the edges later, and a budget bathroom makeover only lasts if the cabinet prep is done right.
For more step-by-step projects to pair with your budget bathroom makeover, see our how-to guides.
2. Walls, Paneling and Trim
Time: 1 day. Difficulty: easy. Fresh paint is the cheapest part of any budget bathroom makeover DIY. Use a paint labeled for bathrooms or a satin or semi-gloss finish, which handles moisture better than flat. Painted paneling needs a bonding primer first, and the grooves are easier with a brush than a roller.
A bright white wall with a slightly darker trim, as in the Homedit example, lets the vanity be the star of the budget bathroom makeover. If your room is small and dark, resist deep wall colors unless the lighting is strong.
3. Replace the Sheet Mirror
Time: 1 to 3 hours. Difficulty: moderate, with a safety caution. A wall-to-wall mirror makes a bathroom feel dated at once, so replacing it is a smart budget bathroom makeover move. Swapping it for one or two medicine cabinets or framed mirrors adds storage and a custom look.
Many sheet mirrors are glued with mastic, and they can crack. Wear safety glasses and gloves, cover the vanity and floor, and apply tape in a grid over the glass to hold shards together. Slide a thin putty knife behind the glass, work slowly, and expect some drywall paper to tear. If the mirror is huge or will not budge, hire a handyman rather than risk injury. Patch and prime the wall before painting.
4. Lighting You Can Afford in a Budget Bathroom Makeover
Time: 1 to 2 hours. Difficulty: moderate. Swapping a fixture is a common DIY task, but turn off the breaker, confirm power is off with a tester, and hire a licensed electrician if wiring looks old, aluminum or confusing. Sconces at the sides of a mirror give flattering light on faces. A common mounting height is roughly 60 to 66 inches from the floor to the center of the fixture, spaced about 36 to 40 inches apart; adjust to your mirror and the people using it. Choose damp-rated fixtures near the tub or shower.
The Homedit project paid $36 for a pair of gold sconces, which shows lighting does not need to be expensive to change a room.
5. Hardware and Metal Finishes
Time: 30 minutes. Difficulty: easy. New pulls or knobs make painted cabinets look custom in any budget bathroom makeover. Measure the hole spacing on existing pulls (commonly 3 inches or 96 mm) so new ones fit without drilling. If you change the hole spacing, fill and repaint the old holes.
Pick one or two metal finishes for the room and repeat them: for example, brushed brass on pulls and light fixtures, with a chrome faucet kept as a quiet background. Mixed metals work when the pattern is deliberate, but random finishes look like leftovers.
6. Peel and Stick Bathroom Floor Tile
Time: 4 to 8 hours. Difficulty: easy to moderate. A peel and stick bathroom floor is the fastest way to hide a worn or dark floor in a budget bathroom makeover. It can often go over sound, flat vinyl or faux wood planks, which saves demolition.
How to install peel and stick bathroom floor tile
- Prep the surface. Clean, degrease and dry the floor. Fill gaps, deep grooves and plank seams with a floor patch or leveler, since textures telegraph through thin tile.
- Remove obstacles. Take off the toilet if you want a clean finish (a basic reinstall with a new wax ring), or trim carefully around its base. Remove baseboards or plan to add quarter round.
- Prime if the maker requires it. Some brands want a primer or a clean, porous surface for adhesion.
- Dry-fit the layout. Find the room’s center and snap chalk lines. For a checkerboard, start at the center and work outward so edge tiles are not slivers.
- Lay tiles. Peel the backing, align to the line, and press from the center outward. Roll with a floor roller or rolling pin to seat the adhesive.
- Cut with a utility knife. Score with a straightedge, snap, and use a paper template for tricky cuts around the toilet flange.
- Seal edges. Run a bead of mildew-resistant silicone where tile meets the tub, shower base and walls so water cannot get underneath.
Is peel and stick bathroom floor tile waterproof?
Vinyl tile itself resists water, but the seams and edges are the weak points. A product marketed as peel and stick bathroom floor tile waterproof still depends on tight joints, sealed perimeters and quick cleanup. It suits powder rooms, secondary baths and rooms with good ventilation. It is a poor choice over a floor that is uneven, damp or spongy, in a bathroom that floods, or around a tub that regularly overflows.
It is also popular as a peel and stick bathroom floor tile renter friendly option for a budget bathroom makeover, though adhesive can be hard to remove and may damage old vinyl. Renters should ask permission first and test a small area.
7. Caulk, Ventilation and Final Details
Time: 2 to 3 hours. Difficulty: easy. Fresh white caulk around the tub, sink and floor is one of the cheapest upgrades in any budget bathroom makeover. Cut out the old bead, clean with rubbing alcohol, then apply 100% silicone or a quality bath caulk and smooth with a wet fingertip or tool.
Finish with a working exhaust fan. Run it during showers and for about 20 minutes afterward, and aim for humidity under 50%. A cheap hygrometer costs around $10 to $15 and tells you whether your budget bathroom makeover will last.
Budget Bathroom Makeover Paint Colors by Countertop Undertone
The countertop is the one big surface you are not changing in your budget bathroom makeover, so the vanity and wall colors should flatter it. Look at the counter in daylight and note whether it leans warm (yellow, pink, cream) or cool (blue, gray).
| Countertop | Undertone | Vanity colors that work | Wall colors |
|---|---|---|---|
| Beige or almond laminate | Warm | Warm gray-brown, greige, deep green | Soft white with a warm base |
| Bright white | Neutral to cool | Navy, charcoal, black, sage green | Crisp white or pale gray |
| Speckled granite | Varies (check the flecks) | Pick the darkest or most subtle fleck color | Neutral white that avoids clashing |
| Cultured marble (swirled) | Often pink, gray or beige | Greige, gray-brown, soft green | Warm white or very light gray |
Examples to test
- Warm gray-brown: Farrow & Ball Mouse’s Back, the color used in the Homedit project. You can see the maker’s color range at Farrow & Ball.
- Greige: a mix of gray and beige that bridges warm and cool counters.
- Navy: sharp against white or light stone, and good for hiding scuffs.
- Green: sage or deep forest suits beige and cream counters.
- Black: dramatic with white counters; shows dust and water spots, so wipe it often.
Always test a sample on a door or board and view it morning and evening before buying gallons for your budget bathroom makeover.
Budget Bathroom Makeover Flooring Compared: Peel and Stick, LVP or Floor Paint
If you are comparing the best peel and stick bathroom floor against other low-cost options for your budget bathroom makeover over old vinyl or faux plank, this overview helps. Costs are rough materials-only ranges.
| Option | Cost per sq ft | Durability | Wet-area suitability | Skill level |
|---|---|---|---|---|
| Peel-and-stick tile | $1-$4 | Fair to good; edges can lift | OK if edges sealed and subfloor dry | Beginner |
| Luxury vinyl plank (click-lock) | $2-$6 | Good to excellent | Good with waterproof core | Intermediate |
| Floor paint | $0.50-$1.50 | Fair; scuffs and wears | Fair with sealer | Beginner, long cure |
Luxury vinyl plank lasts longer but adds floor height and often requires trimming doors and moving the toilet. Floor paint is cheapest but needs patient prep and curing and rarely hides texture. For most renters and quick refreshes, peel and stick bathroom floor tile ideas win on speed and low risk in a budget bathroom makeover.
Peel and Stick Bathroom Floor Ideas for Different Looks
These peel and stick bathroom floor ideas suit nearly any budget bathroom makeover, from traditional to modern.
- Checkerboard: gray and white marble-look squares, as in the Homedit bathroom, feel classic and make a small room look bigger.
- Black and white hex or diamond: a vintage touch for traditional vanities.
- Wood-look planks: warm and forgiving, but avoid very dark colors that show water spots.
- Large stone-look squares: fewer seams mean fewer places for water to enter.
- Patterned encaustic style: best in small powder rooms where a bold look is manageable.
Check the thickness of the product and the manufacturer’s bathroom guidance. Major retailers such as Home Depot carry a wide range, but always read the label for wet-area suitability before buying.
Budget Bathroom Makeover Schedule: Weekend vs. One-Week
A sensible order protects fresh paint and tile in a budget bathroom makeover. Work top to bottom and messy to clean.
Weekend sprint (experienced DIYers)
- Friday evening: remove doors, hardware and mirror; degrease and sand cabinets.
- Saturday: prime and paint cabinets, patch walls, paint ceiling and walls.
- Sunday: lay floor tile, caulk, hang lighting and mirror, and leave doors off until cured.
One-week plan (beginners)
- Day 1: inspection, mirror removal, wall patching.
- Day 2: degrease, sand and prime cabinets.
- Day 3: first and second cabinet coats.
- Day 4: wall and trim paint.
- Day 5: peel-and-stick floor and caulk.
- Day 6: lighting, mirror and hardware.
- Day 7: touch-ups and cleanup; keep light use on cabinets for a few weeks.
This budget bathroom makeover order also keeps floor tile from being scuffed by paint buckets and ladders.
Common Mistakes That Ruin a Budget Bathroom Makeover
Most failures in a budget bathroom makeover come from skipped prep, not bad taste.
- Skipping primer. Without a bonding primer, paint peels off glossy oak and tannins can stain it yellow.
- Leaving tile edges unsealed. Water creeps under the tile at the tub and shower, and the adhesive fails.
- Mismatched metal finishes. Three unrelated finishes look accidental. Pick a plan.
- Rushing the cure. Hanging doors early or scrubbing fresh paint leaves chips and sticky doors.
- Removing a glued mirror carelessly. Use tape, safety gear and patience, or call a pro.
- Painting over damage. Soft wood, mold or leaks come back through finishes.
- Using flat wall paint. It stains and marks easily in a humid room.
- Forgetting scale. Oversized pulls or tiny sconces look off. Tape cutouts to the wall first.
Design Variations Within a Low Budget Bathroom Makeover
Once the base plan is set, small choices change the personality of a budget bathroom makeover DIY without raising the cost much.
- Calm and spa-like: greige vanity, white walls, brushed nickel hardware, soft white bulbs.
- Traditional: navy vanity, checkerboard floor, polished brass sconces.
- Modern: black vanity, large square tile, matte black pulls, a simple round mirror.
- Cozy and earthy: green vanity, warm white walls, wood-look planks and linen towels.
If you are collecting more budget bathroom makeover looks, our interior design and DIY projects categories have further inspiration. For a budget bathroom makeover mosaic tile accent, a small strip of peel-and-stick mosaic behind the sink adds interest for very little money, though keep it away from direct spray.
Maintenance: Keep Your Budget Bathroom Makeover Looking New
The first month decides how long the finish of your budget bathroom makeover lasts. Handle the room gently and check it often.
- Week 1 to 4: avoid harsh scrubbing on cabinets, keep rubber mats off fresh paint, and open doors gently.
- After 2 to 4 weeks: inspect floor seams and corners. Press down any lifted edges and add a dab of seam adhesive or silicone where needed.
- Touch up paint with a small brush and leftover cabinet paint on chipped corners. Label and save the can.
- Clean weekly with a mild soap and water. Avoid abrasive cleaners that dull paint.
- Wipe standing water from the floor and the vanity top, especially near the toilet and tub.
- Re-check caulk twice a year and replace any bead that cracks or darkens.
Treat this as an ongoing routine, not a one-time job, and a well-done budget bathroom makeover can look good for years.
Frequently Asked Questions
Can you paint oak bathroom cabinets?
Yes. In a budget bathroom makeover, oak bathroom cabinets paint well when you degrease them, sand lightly, apply a bonding primer and finish with two thin coats of cabinet-grade paint. The open grain will show unless you fill it first. Skip painting if the wood is soft, swollen or moldy; repair the moisture problem before any finishing.
How to install peel and stick bathroom floor tile?
Clean and dry the floor, fill seams and gaps, and plan a layout from the center of the room. Peel and press each tile firmly, roll it for adhesion, cut around fixtures with a utility knife, and seal edges at the tub and walls with mildew-resistant silicone. Always follow the manufacturer’s instructions for your budget bathroom makeover.
Can you use peel and stick tile on bathroom floor?
Yes, in most bathrooms with a flat, dry, sound floor, which makes it a good fit for a budget bathroom makeover. It works best in guest baths and powder rooms where water exposure is limited. Seal the perimeter and seams, and avoid it where floors flood, stay damp, are uneven or are spongy, since moisture will break the adhesive bond.
How much does a budget bathroom makeover cost?
For a small bathroom, a budget bathroom makeover with paint, hardware, lighting and peel-and-stick tile often runs roughly $265 to $945 in the basic and mid columns above, with upscale choices costing more. Doing the labor yourself is what keeps the total low.
How to budget for bathroom renovation?
List every item, price it as basic, mid or upscale, and add about 10% for surprises. Decide what to keep (tub, counter, plumbing) to save the most. For a paint-and-finishes budget bathroom makeover, many homeowners plan roughly $400 to $1,000 if they do the labor themselves, while hiring help raises the total considerably.
How to budget bathroom remodel without a gut renovation?
For a budget bathroom makeover, keep the layout, tub, counter and plumbing, then update cabinets, walls, mirror, lighting, hardware and floor. Do the work in a logical order, buy materials in one trip to avoid impulse spending and use a fan and sealed edges so the new finishes survive humidity. Hire licensed pros for electrical and structural repairs.
Final Thoughts on Your Budget Bathroom Makeover
A thoughtful budget bathroom makeover is mostly about decisions: which surfaces to keep, which colors suit the countertop and which small upgrades give the most change per dollar. Start with a moisture check, prep the oak properly, seal every edge and let paint cure. Do that, and your budget bathroom makeover can turn a dated 1990s bathroom into a fresh renovation for well under the cost of new cabinets.
Sources: Inspiration and real-life details from Homedit’s article on the painted oak vanity. Further reading: EPA mold resources, EPA lead information and Farrow & Ball.