Affordable bathroom upgrades prove you don’t need a full gut renovation to make the room feel new. A handful of smart, low-cost changes can transform how a bathroom looks and functions in a single weekend.
These affordable bathroom upgrades focus on the details guests actually notice, hardware, lighting, and texture, rather than the expensive structural changes a contractor would charge thousands for.
1. Swap the Hardware
New cabinet pulls, a faucet, and a towel bar in one finish instantly modernize a dated bathroom. This upgrade usually costs under $150 and takes an afternoon.
2. Regrout and Recaulk
Discolored grout and cracked caulk age a bathroom faster than almost anything else. Fresh grout and a clean caulk line make tile look new again for the cost of a tube of caulk.
3. Add a Statement Mirror
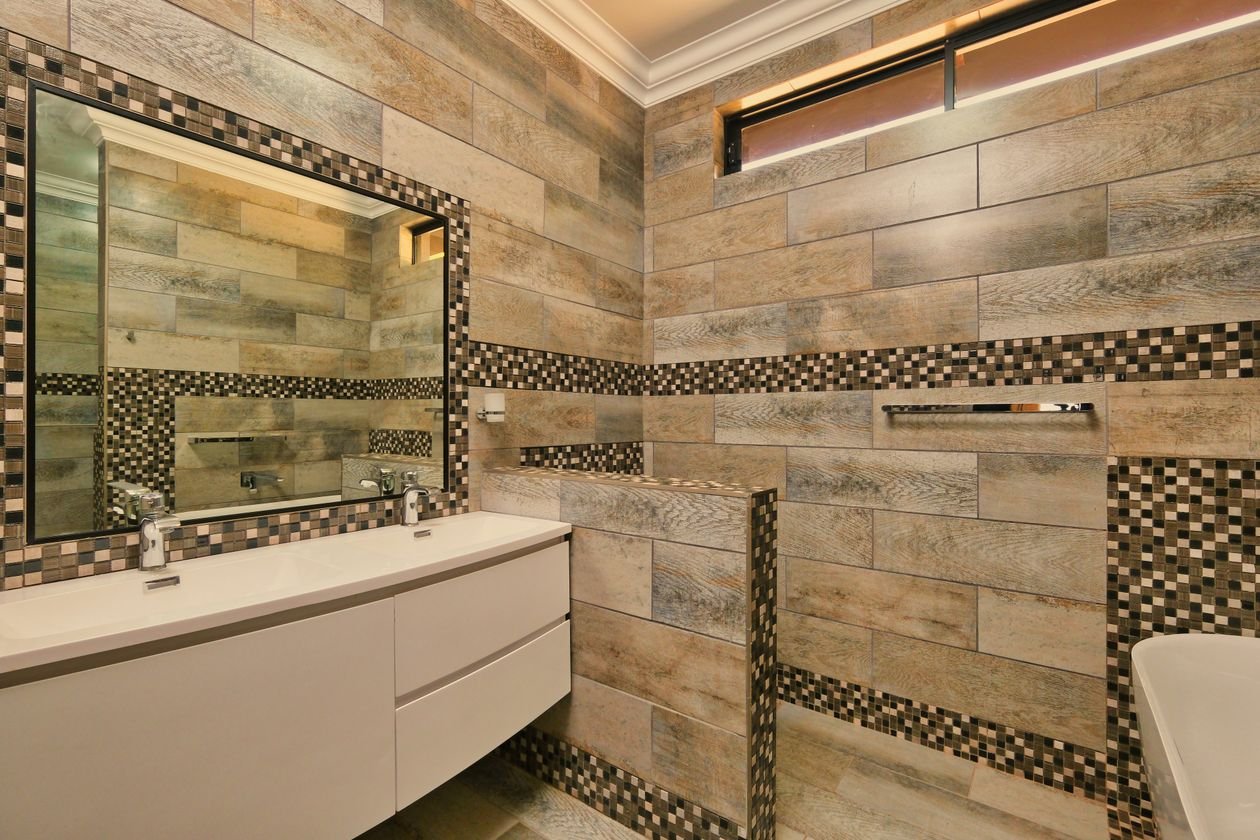
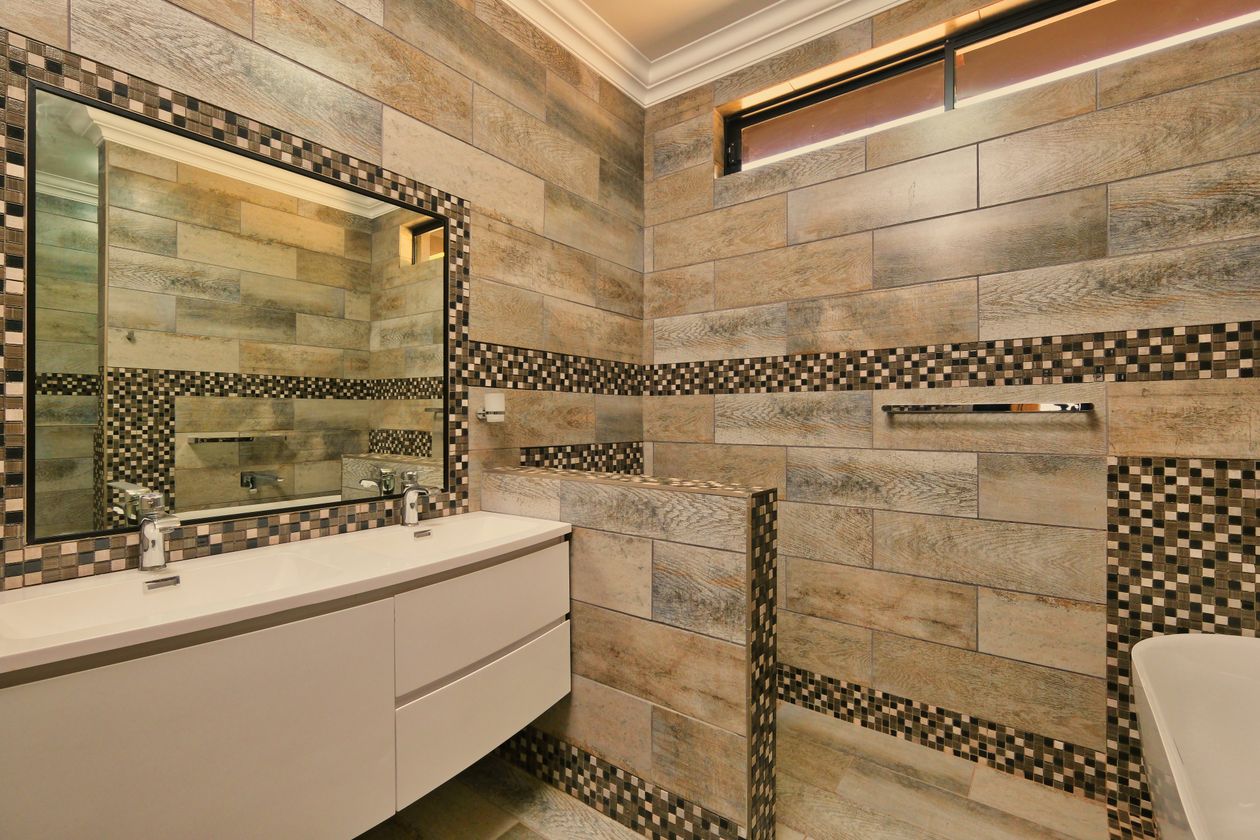
Replacing a builder-basic mirror with one that has real presence, a frame, an interesting shape, changes the whole room’s tone without touching plumbing or tile.
4. Upgrade the Lighting
Swapping a single dated fixture for a brighter, warmer one improves both function and mood. Vanity sconces flanking the mirror avoid the harsh shadows overhead lighting causes.
5. Paint the Vanity, Not Just the Walls
A fresh coat of paint on a dated wood vanity, paired with new hardware, looks close to a full cabinet replacement at a fraction of the cost.
Where to Splurge vs Where to Save in a Bathroom
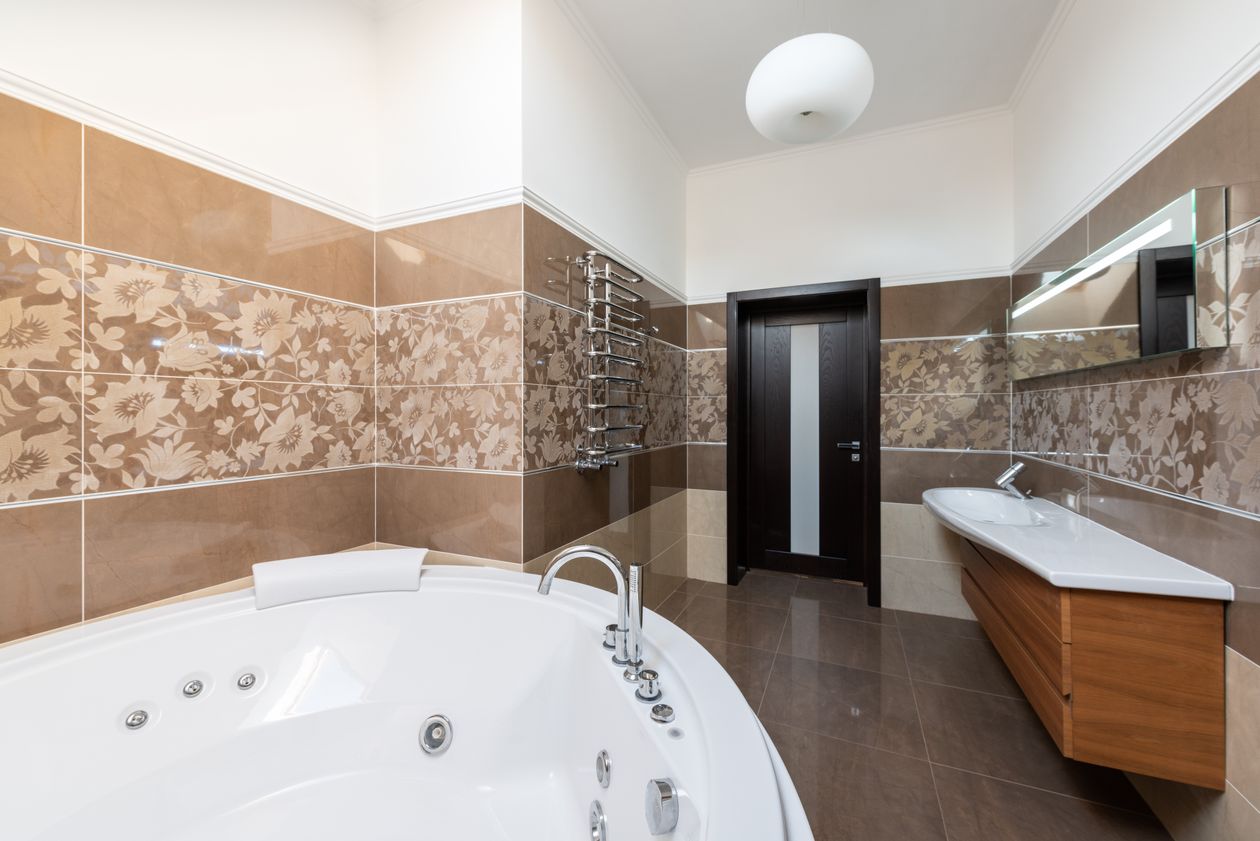
Splurge on anything you touch daily: the faucet, the showerhead, the lighting. Save on decorative extras like a new soap dispenser or towel color, which are easy and cheap to swap later.
Mistakes to Avoid
Skip cheap adhesive tile decals, which peel within months in a humid bathroom. Also avoid painting over existing caulk instead of removing and replacing it, since paint won’t seal properly.
A Simple Test Before You Start
List the three things you notice first when you walk in. Fix those three before anything else, since that’s what visitors and buyers notice too.
A Weekend Bathroom Refresh Plan
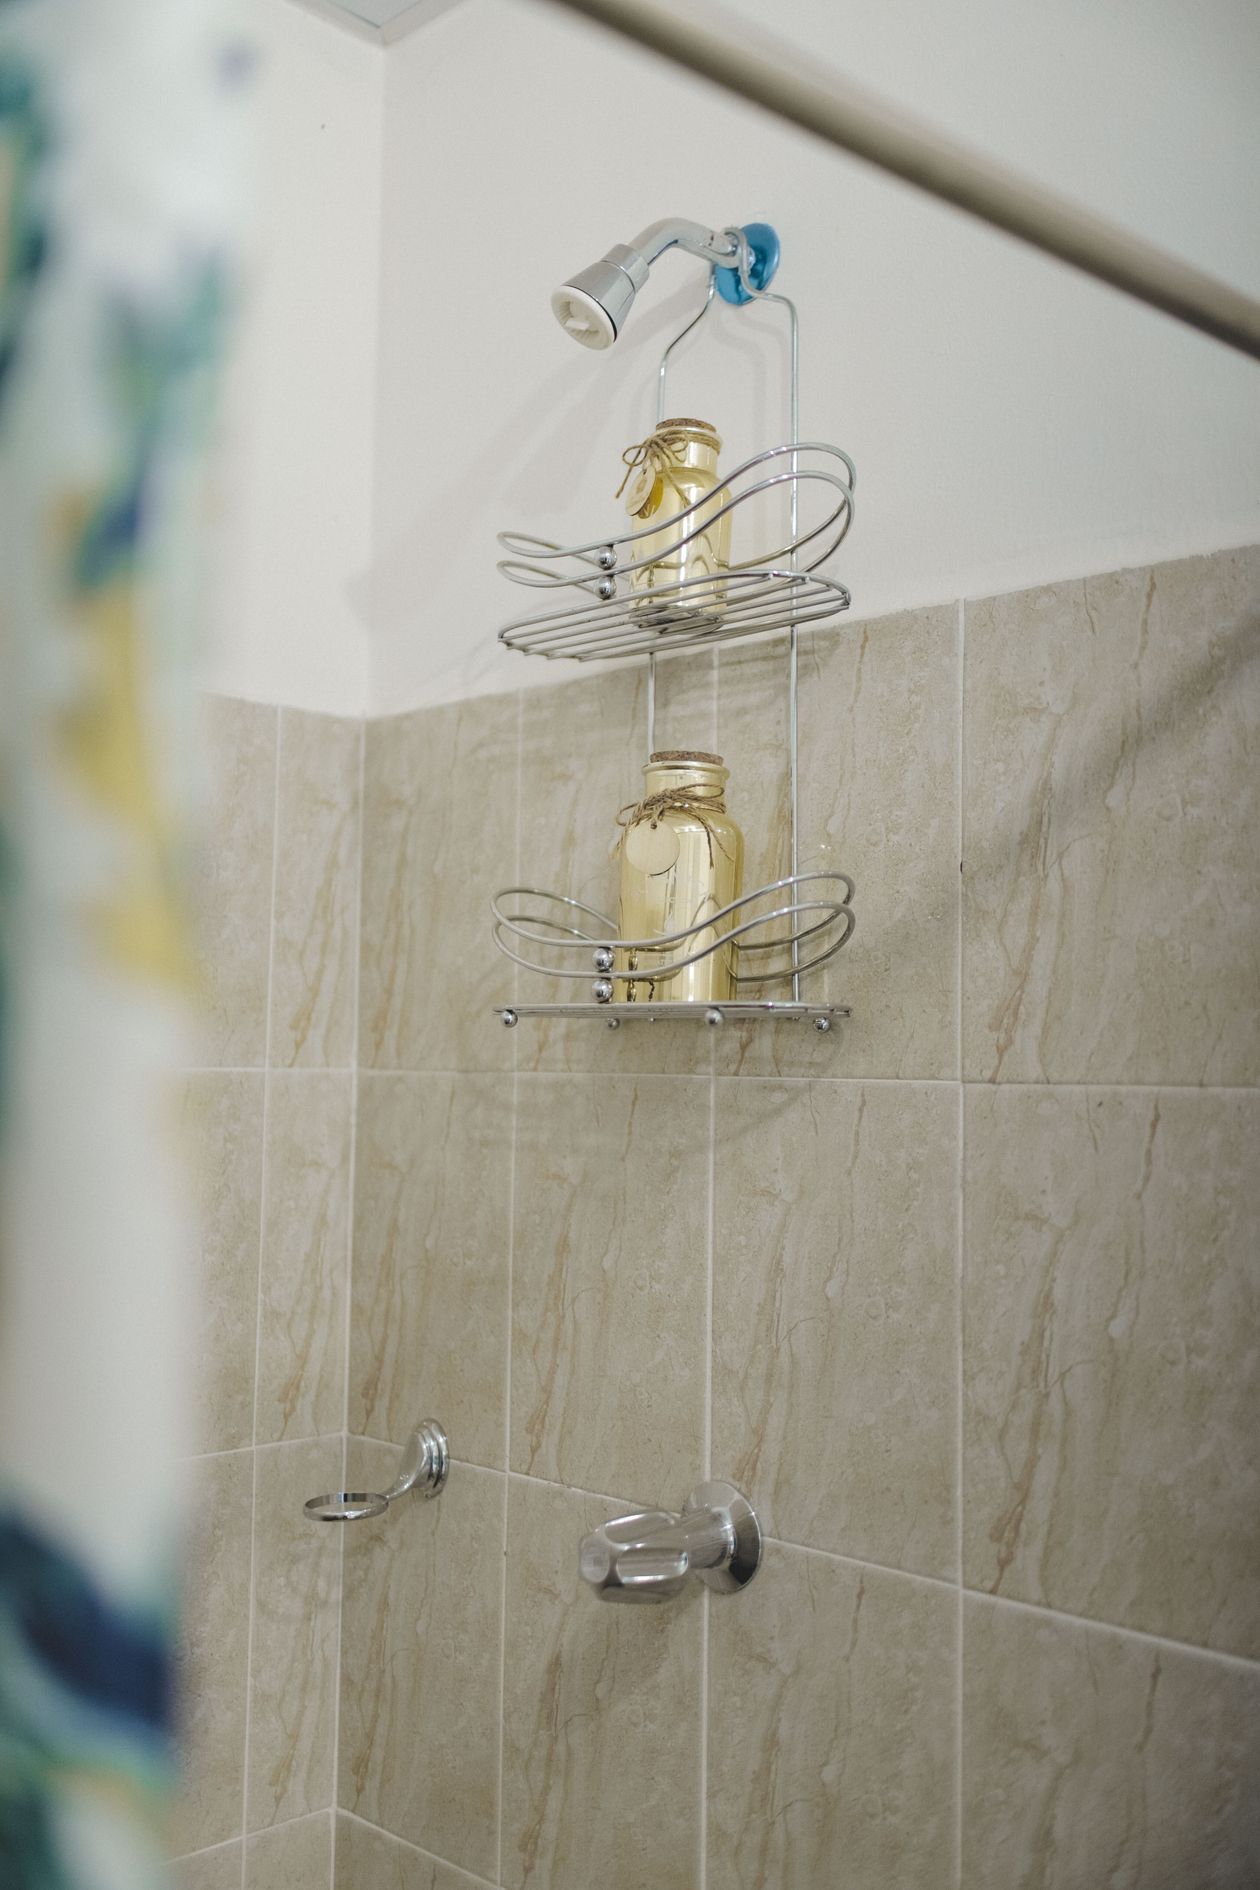
Day one: remove old caulk, clean grout lines, and swap hardware. Day two: paint the vanity and hang the new mirror. Most of these changes dry and cure by the following morning.
How Long These Upgrades Last
Hardware and lighting swaps last as long as the fixtures themselves, often a decade or more. Fresh caulk and grout typically need attention again in three to five years with normal use.
Frequently Asked Questions
What’s the single best low-cost bathroom change? Regrouting and recaulking, since discolored grout is one of the first things people notice, and it’s one of the cheapest fixes on this list.
More Bathroom Questions, Answered
Do I need a professional for these upgrades? Most of these are doable in a weekend without a contractor. Save professional help for anything involving new plumbing lines.
A Quick Upgrade Checklist
Prioritize: hardware, grout, caulk, lighting, and a statement mirror. Skip: full tile replacement and vanity swaps unless the current ones are structurally damaged.
The Bottom Line
The best low-cost changes focus on hardware, lighting, grout, and one statement piece rather than a full remodel. Start with the cheapest, highest-impact fixes and build from there. For more budget ideas, see our Splurge vs. Save guides and our bathroom ideas. For renovation planning, The Spruce is a helpful outside resource.